Desktop Client Guide
This page is adapted from the desktop client operation manual and covers installation, sign-in, and day-to-day operations for both Windows and macOS.
All screenshots on this page are converted to webp format for better bandwidth efficiency and faster loading.
1. Install the Larktun desktop client
1.1 Windows
- Download
larktun.msifrom larktun.com. - Double-click the installer; if Windows asks for admin permission, choose "Yes".
- After installation, the
Larktun IPNicon appears on the desktop. - Double-click
Larktun IPNto launch the client.

1.2 macOS
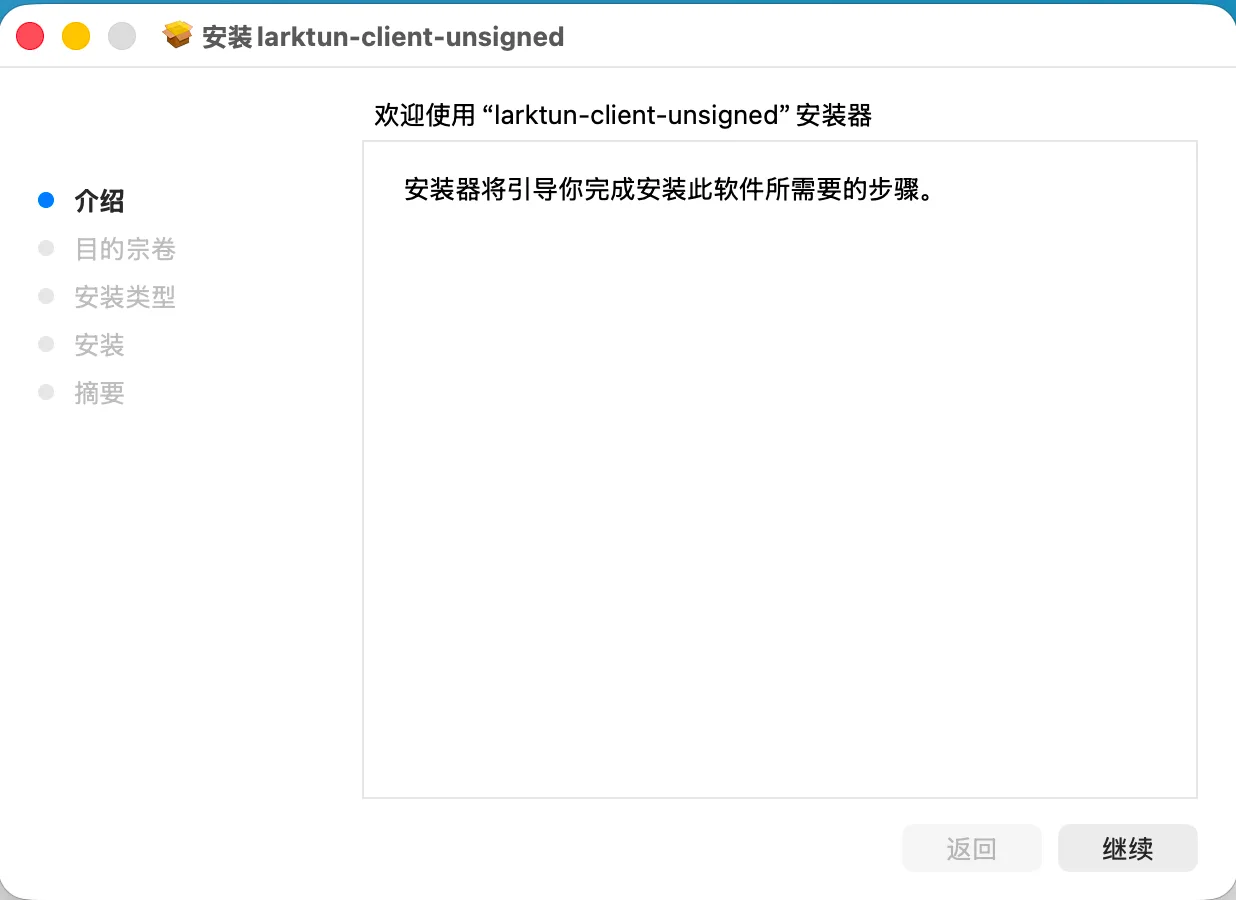
- Download
larktun-client.pkgfrom larktun.com. - Double-click the package and complete the setup wizard.
- After installation, find
Larktun IPNinApplications. - Open
Larktun IPNto launch the client.

2. Sign in to Larktun
2.1 Windows sign-in flow
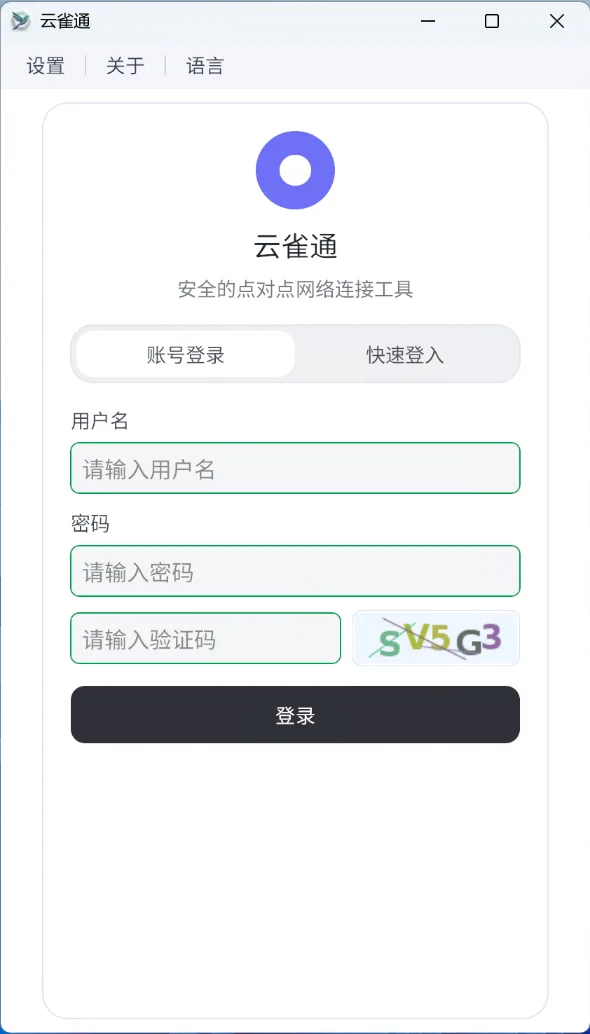
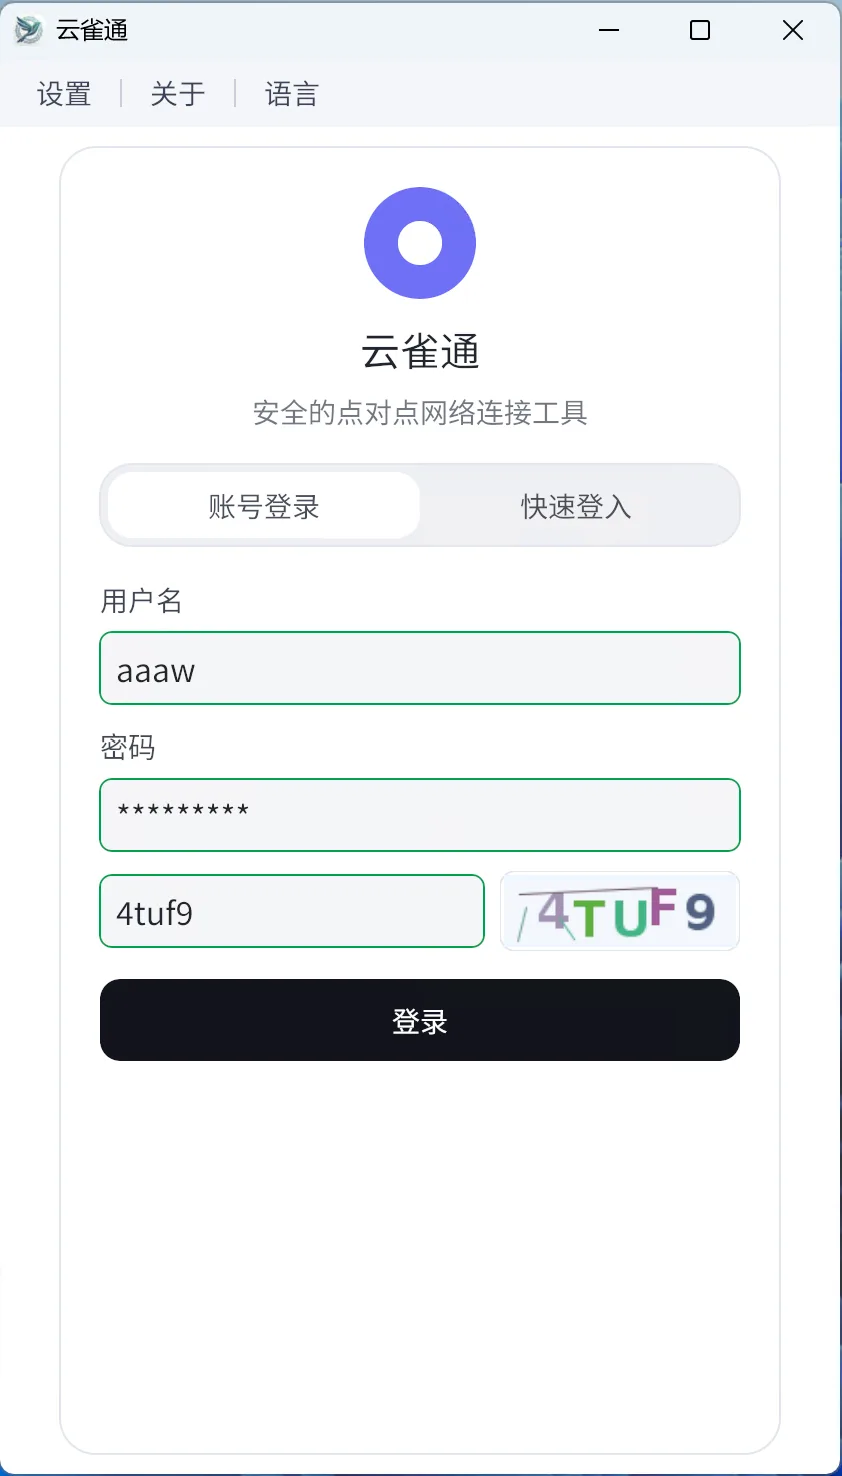
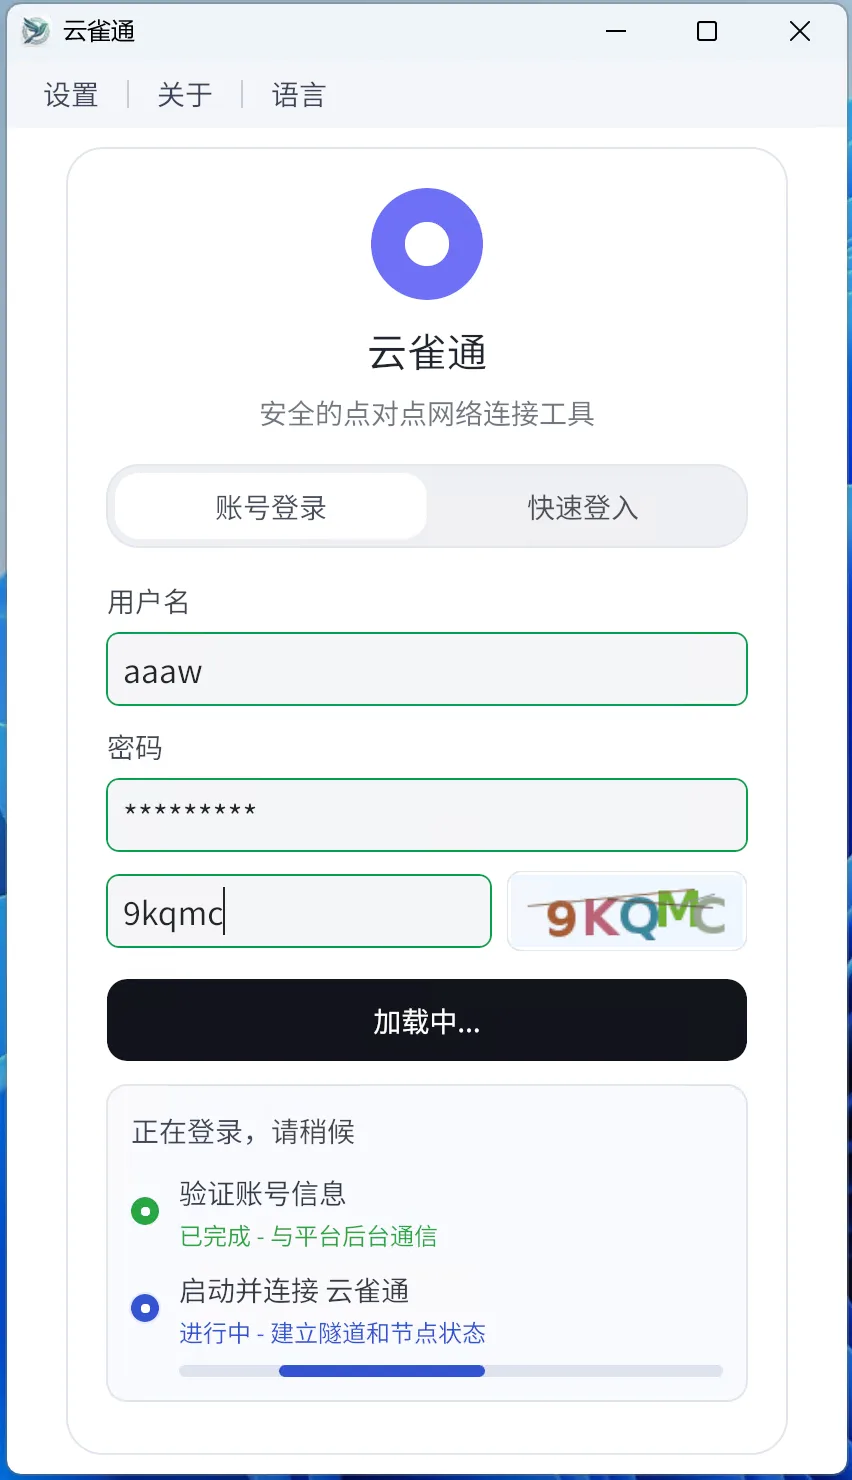
- Open
Larktun IPN. - Enter username, password, and verification code.
- The verification code refreshes every minute; if invalid, re-enter it.
- Click "Login" to enter the device list page.
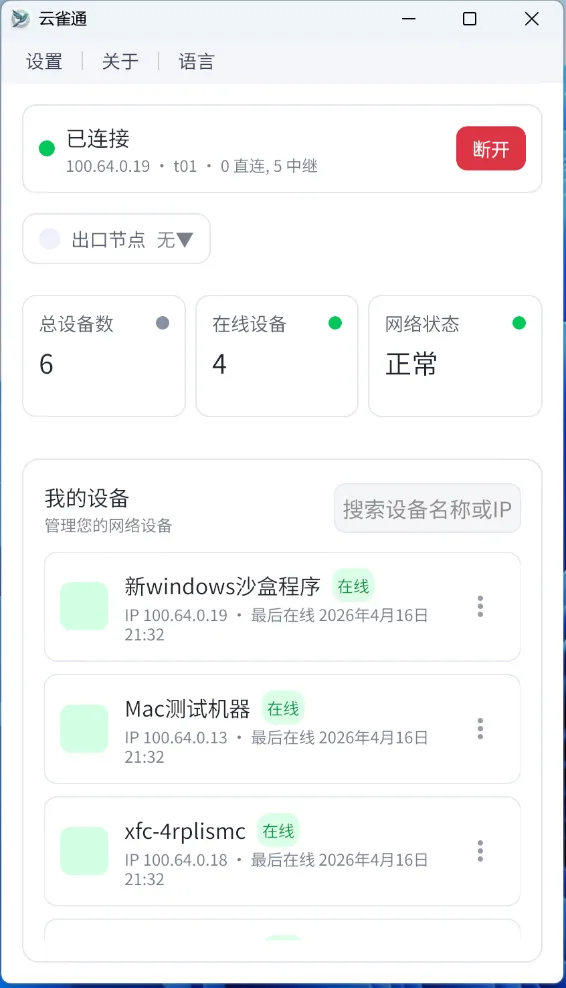
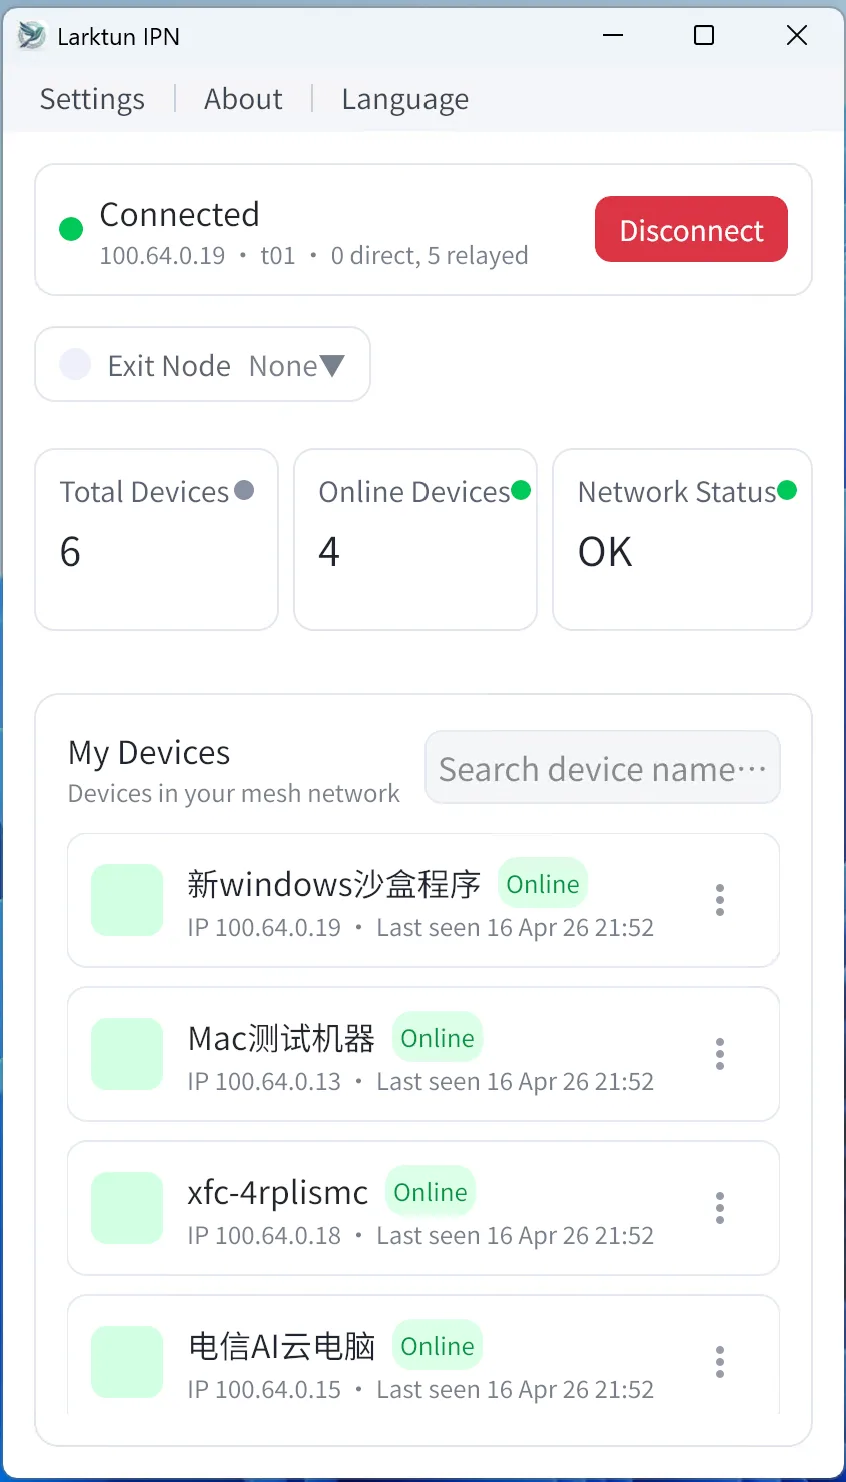
2.2 Main screen field reference
Connected: client is connected to the server.100.x.x.x(example virtual IP): devices can communicate over virtual IP.Disconnect: disconnects this device from the server.Exit Node: shows available exit nodes.Total Devices: number of devices under this account.Online Devices: number of currently online devices.Network Status: normal or abnormal.My Devices: device list and status under this account.
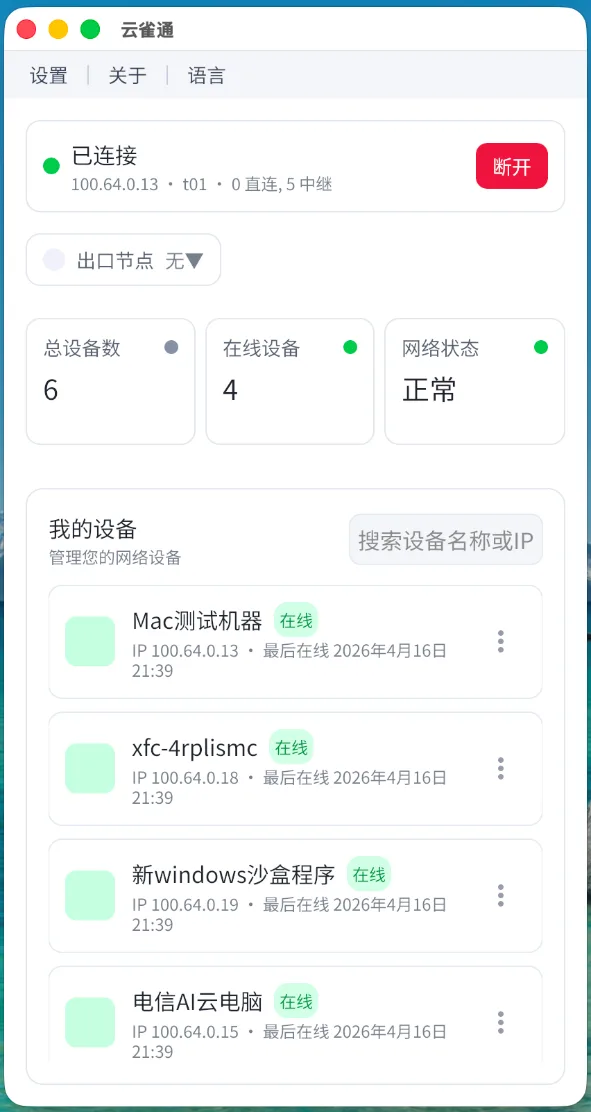
2.3 macOS sign-in flow
The sign-in flow and main UI structure on macOS are functionally the same as Windows.
3. Core features
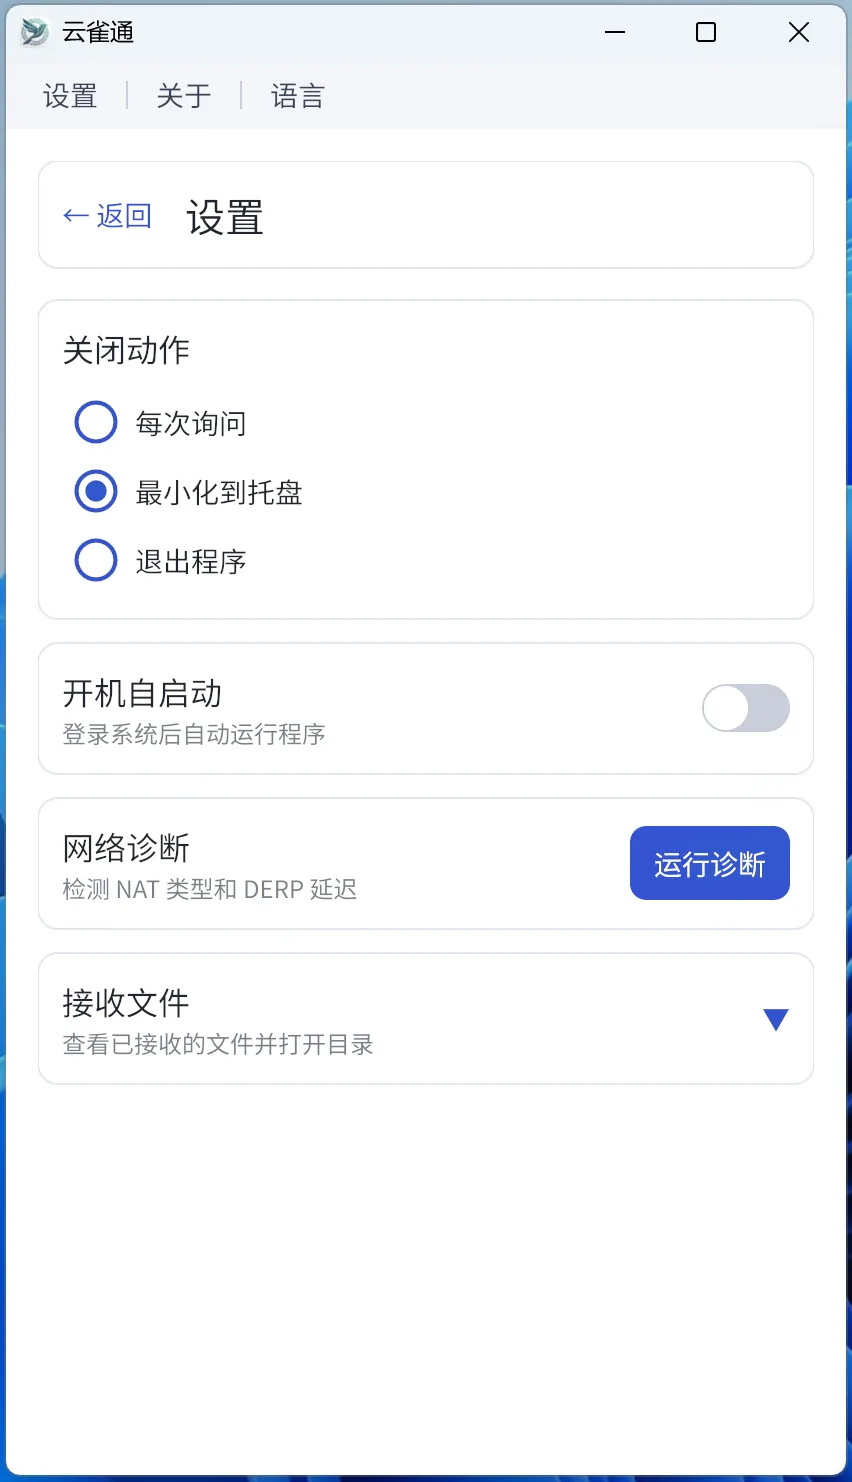
3.1 Settings
Close Action- Ask every time: prompts whether to minimize or quit when closing.
- Minimize to tray: closes window and keeps client running in tray.
- Exit app: quits immediately.
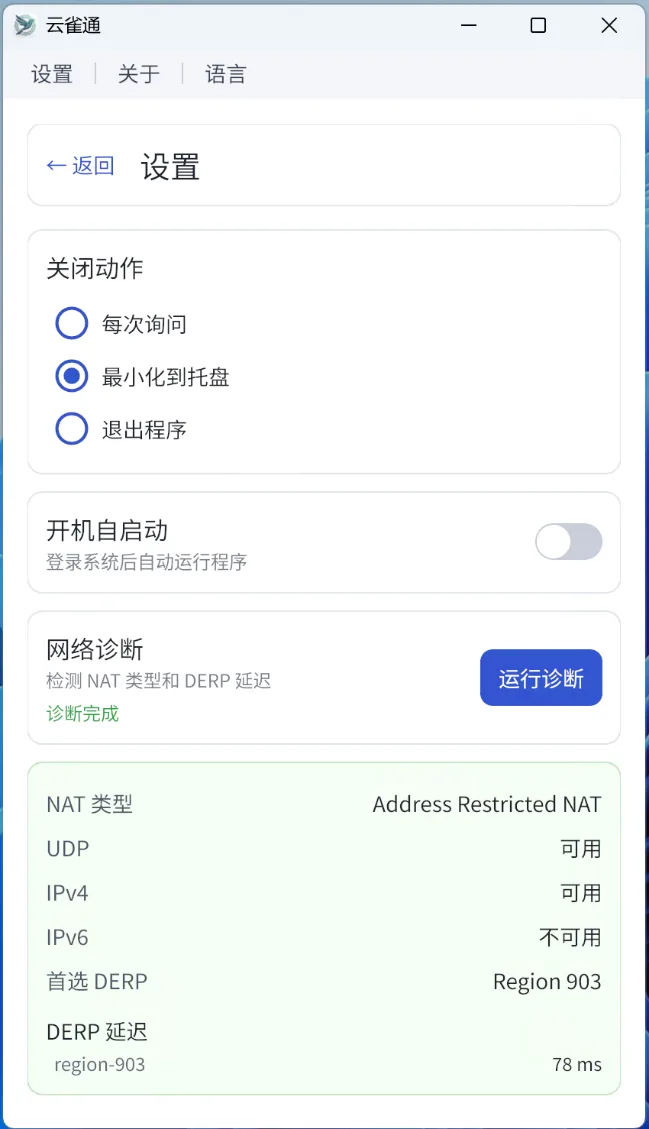
Start on boot: auto-start the client after system reboot.Network diagnostics: run diagnostics to view network type and recommended relay.
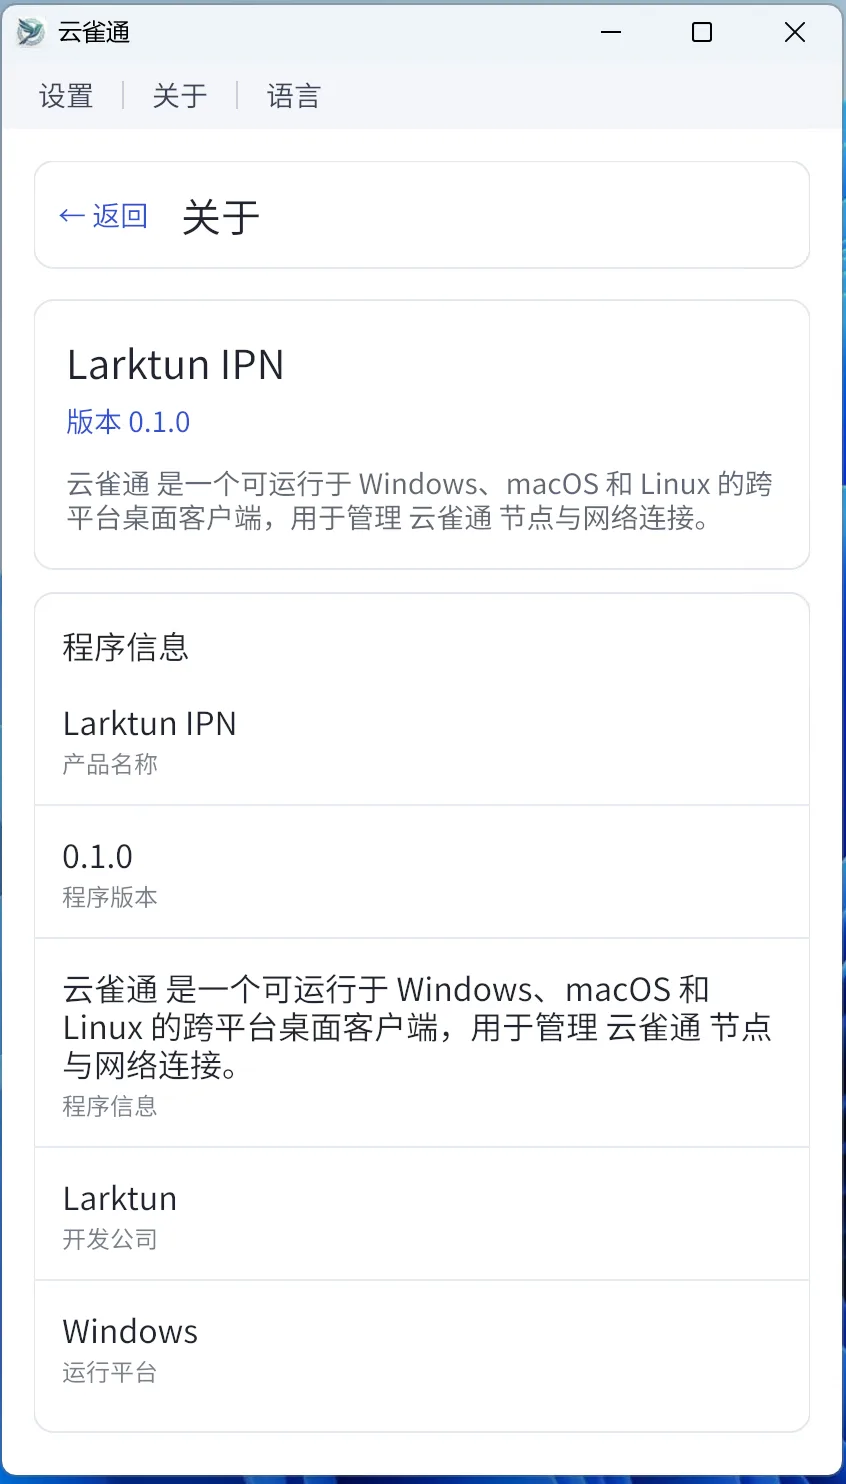
3.2 About
The About page shows version, runtime platform, and vendor information.
3.3 Language menu
Supports Chinese and English; language can be switched while running.
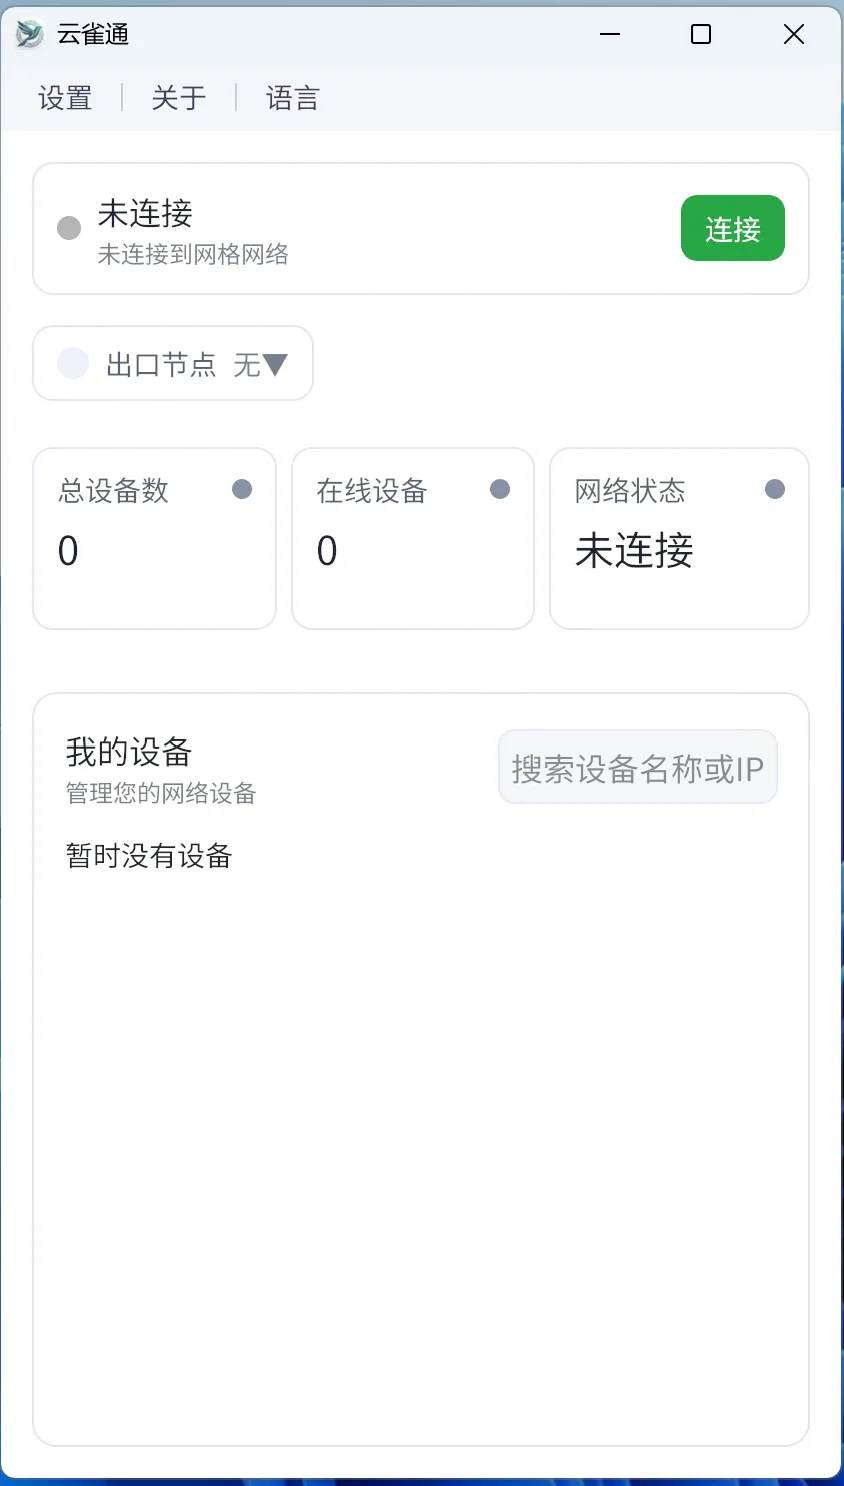
3.4 Disconnect/Connect
- Click
Disconnectto stop server connectivity. - Click
Connectto re-establish connectivity.
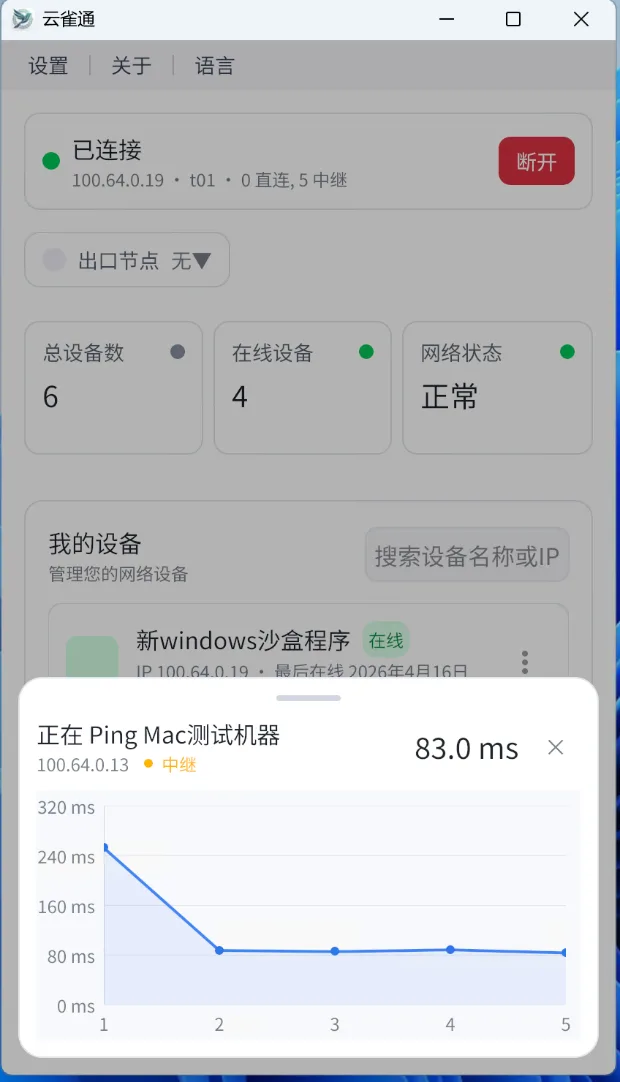
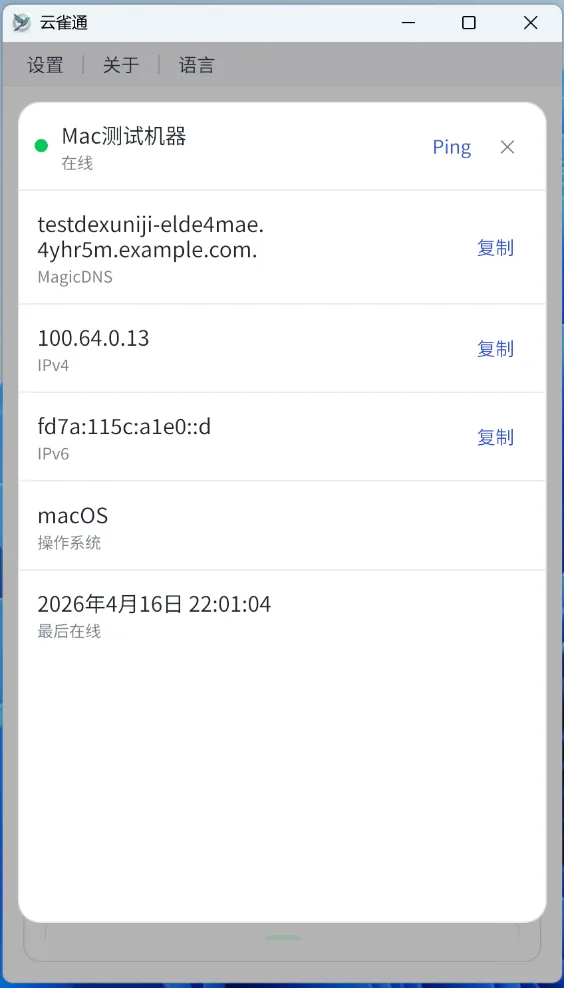
3.5 Device actions
Device menu includes:
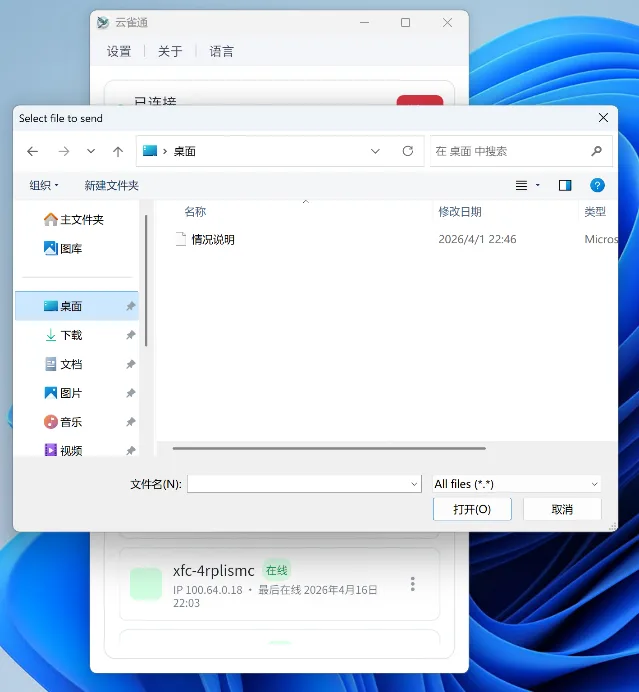
Copy IP address: copies virtual IP to clipboard.Ping: checks connectivity and shows latency plus direct/relay path type.Details: shows detailed device information.Send File: sends a local file to the selected device.Cancel: closes the device action menu.

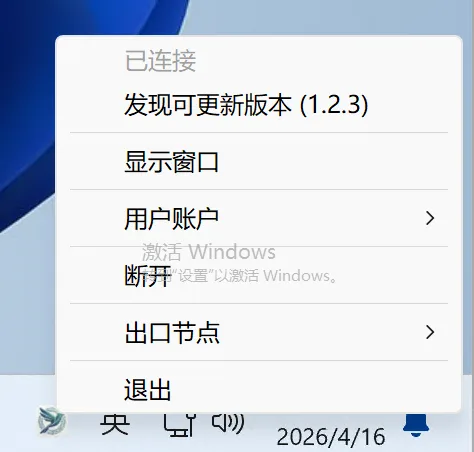
4. Tray menu
Connected: current connection state.Update: update notice when a newer version is available.Show Window: restores main window when minimized.User Account: current signed-in account info.Disconnect: disconnect current session.Exit Node: view exit node list.Exit: quit the client.
5. Operational suggestions
- After first sign-in, confirm network status is normal before device-to-device access tests.
- If connectivity is unstable, run network diagnostics first, then check Troubleshooting.
- For policy-level control, continue with Quick Start for ACL and relay setup.