Install and Log In to Larktun on a NAS
Larktun can connect your NAS to a controlled private network without exposing its admin panel to the public internet or configuring DDNS. Once your computer, phone, and NAS join the same Larktun network, you can access the NAS admin UI, photo library, file services, and home applications through private addresses.
There are two common ways to connect a NAS:
- Preferred: install the Larktun Linux client. Use this path when your Linux NAS provides SSH or terminal access and administrator permissions. The one-command installer supports common ARM64 NAS devices.
- Compatibility option: install Tailscale and log in to Larktun. Use this path when the installer cannot run, the NAS restricts system directories, or the app store already provides Tailscale. Larktun is compatible with the Tailscale client and provides service nodes optimized for networks in China.
Try the Larktun one-command installer first. If your NAS firmware is restrictive, use the Tailscale package from the NAS app store. Both paths connect the NAS to your Larktun network.
Before you start
- Register and sign in to the Larktun console.
- Create an Auth Key on the Nodes page in the console.
- Find your NAS LAN IP address, such as
192.168.1.20. - If you need to run commands from a computer, enable SSH on the NAS and use it only from a trusted LAN.
Treat the Auth Key as a device credential. Do not paste it into public chats, support tickets, or screenshots.
Option 1: Use the Linux one-command installer
The Larktun Linux installer detects the CPU architecture automatically. It currently supports:
- ARM64:
aarch64,arm64 - x86-64:
x86_64,amd64
The script requires Linux, curl or wget, and root, sudo, or doas permissions. It can configure common systemd, OpenRC, and SysV startup environments automatically.
1. Connect to the NAS over SSH
Run this command from your computer:
ssh admin@<NAS LAN IP>
For example:
ssh admin@192.168.1.20
2. Install Larktun
Use the global download channel:
curl -fsSL https://download.larktun.com/install.sh | sh
For a NAS located in mainland China, you can keep the script and binary downloads on the domestic high-speed channel:
curl -fsSL https://download2.larktun.com/install.sh | LARKTUN_DOWNLOAD_URL=https://download2.larktun.com sh
The installer downloads larktun and larktund, then configures a background service where possible. You can also visit the Larktun download page to check the current command before installation.
3. Log in with an Auth Key
Replace <Your Auth Key> with the key created in the console:
sudo larktun up --login-server=https://hs.larktun.com --auth-key=<Your Auth Key>
If you are already signed in as root, omit sudo.
4. Confirm that the NAS is online
Return to the Nodes page in the Larktun console and refresh the device list. Once the NAS appears online, test access through its private address.
Option 2: Use Tailscale to log in to Larktun
Some NAS environments use read-only directories, plugin sandboxes, or custom service managers. If the Larktun Linux installer cannot complete setup, install the Tailscale client from the NAS app store and point it to the Larktun control plane.
The screenshots below use an ASUSTOR NAS running ADM. Menu labels vary between NAS brands, but the core steps are the same.
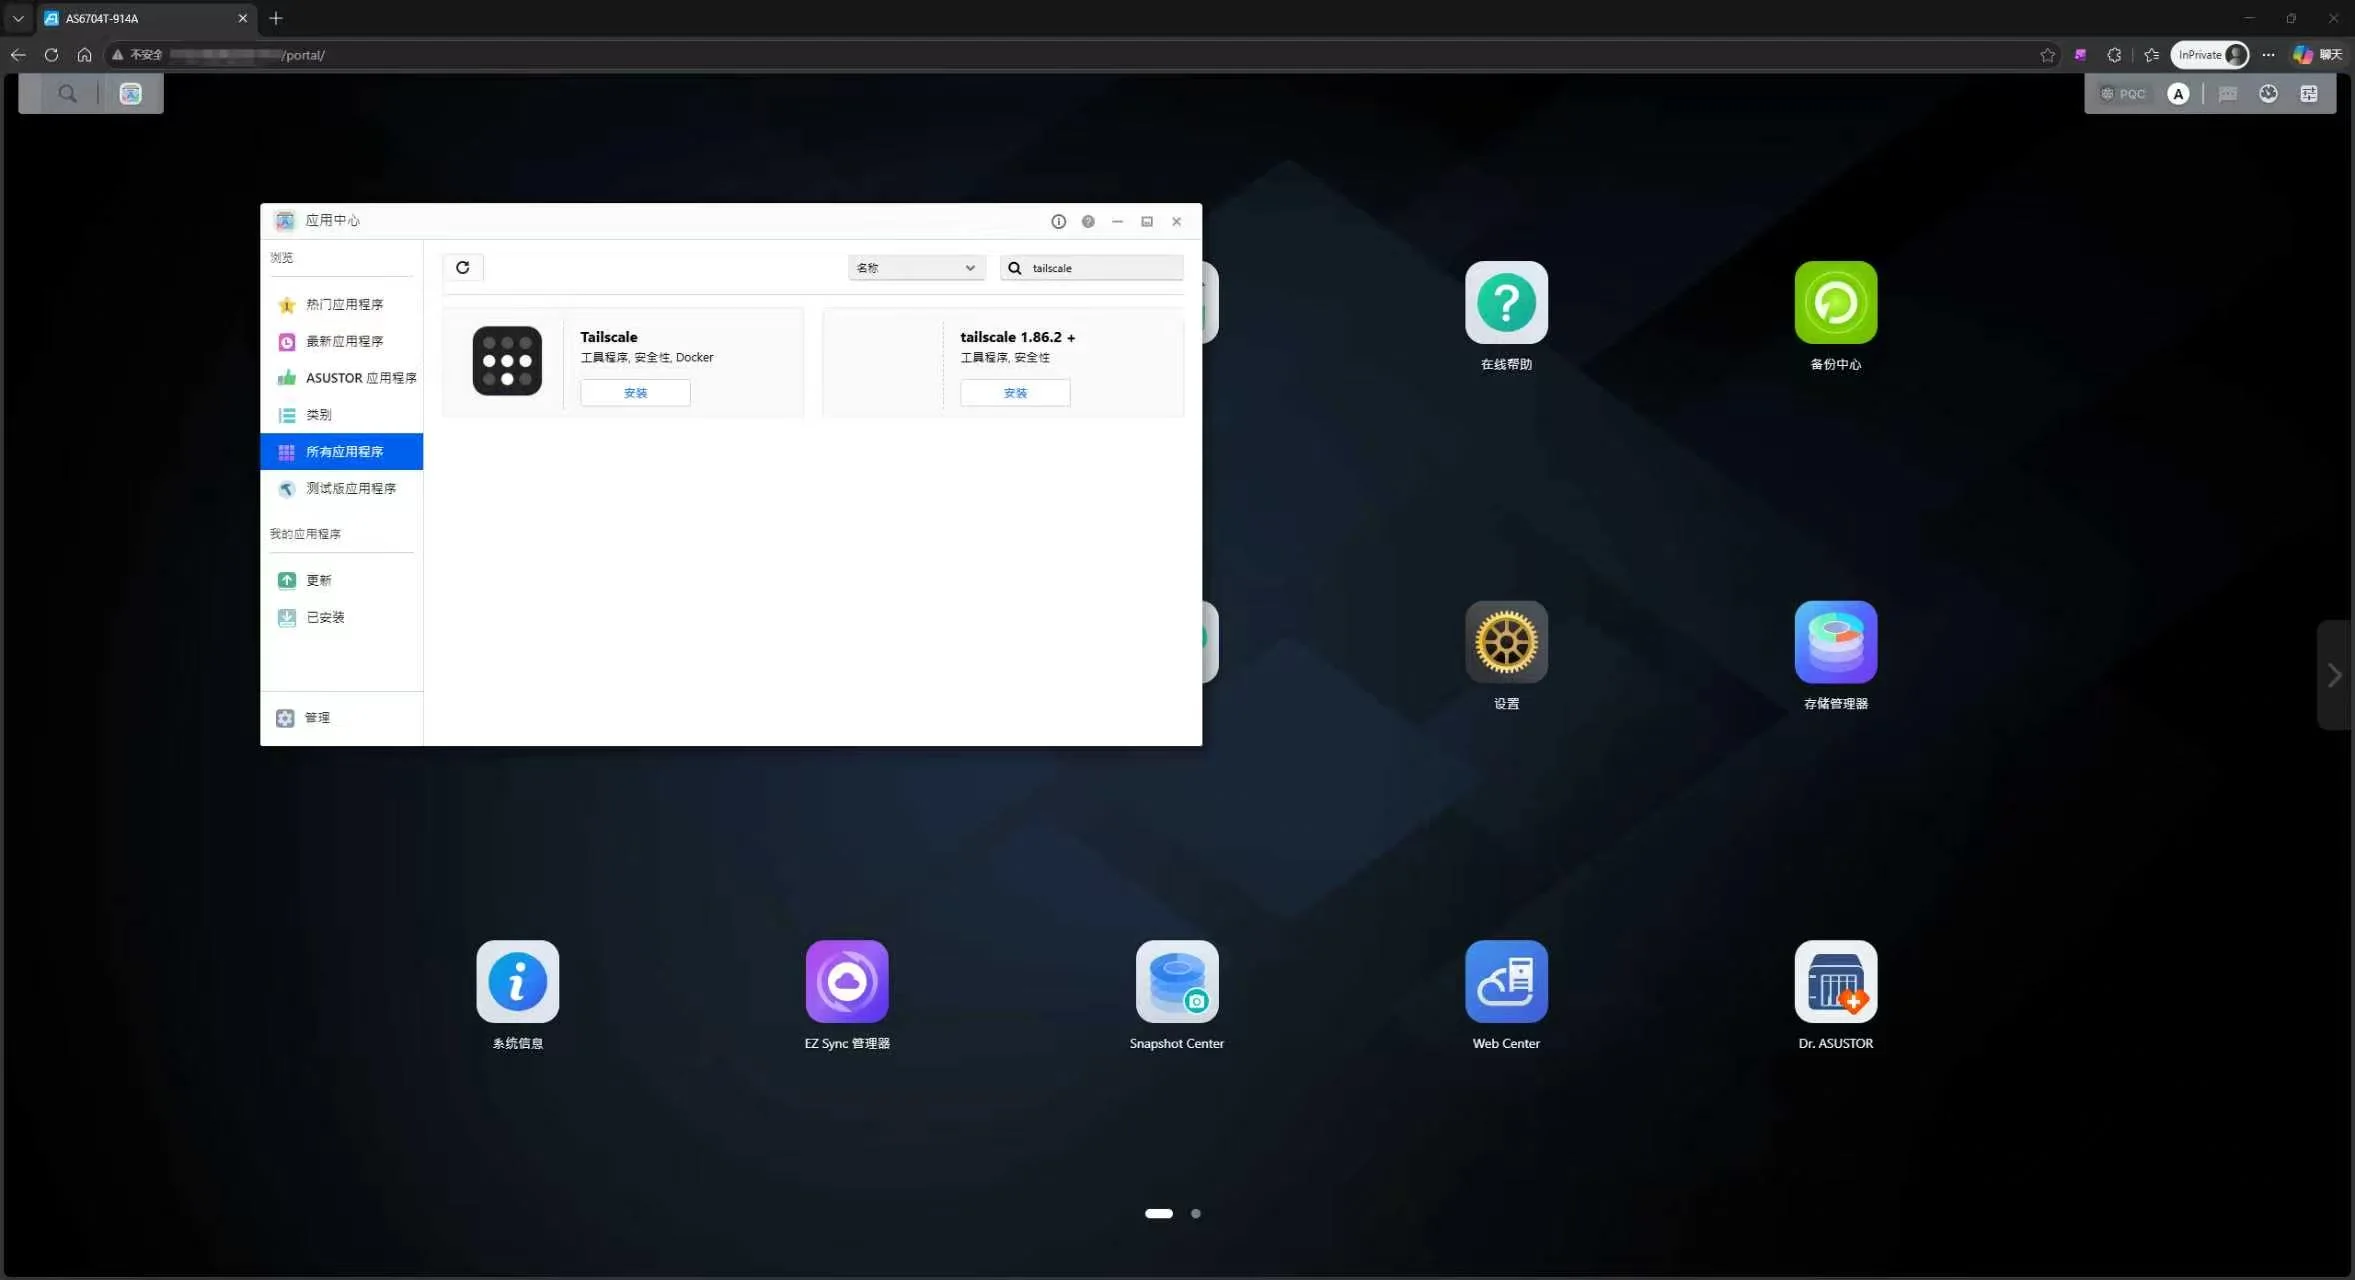
1. Install Tailscale from App Central
Open App Central, search for Tailscale, and install an available version.
2. Enable NAS SSH temporarily
If the initial login requires a command line, open Services > Terminal, enable the SSH service, and save the setting.
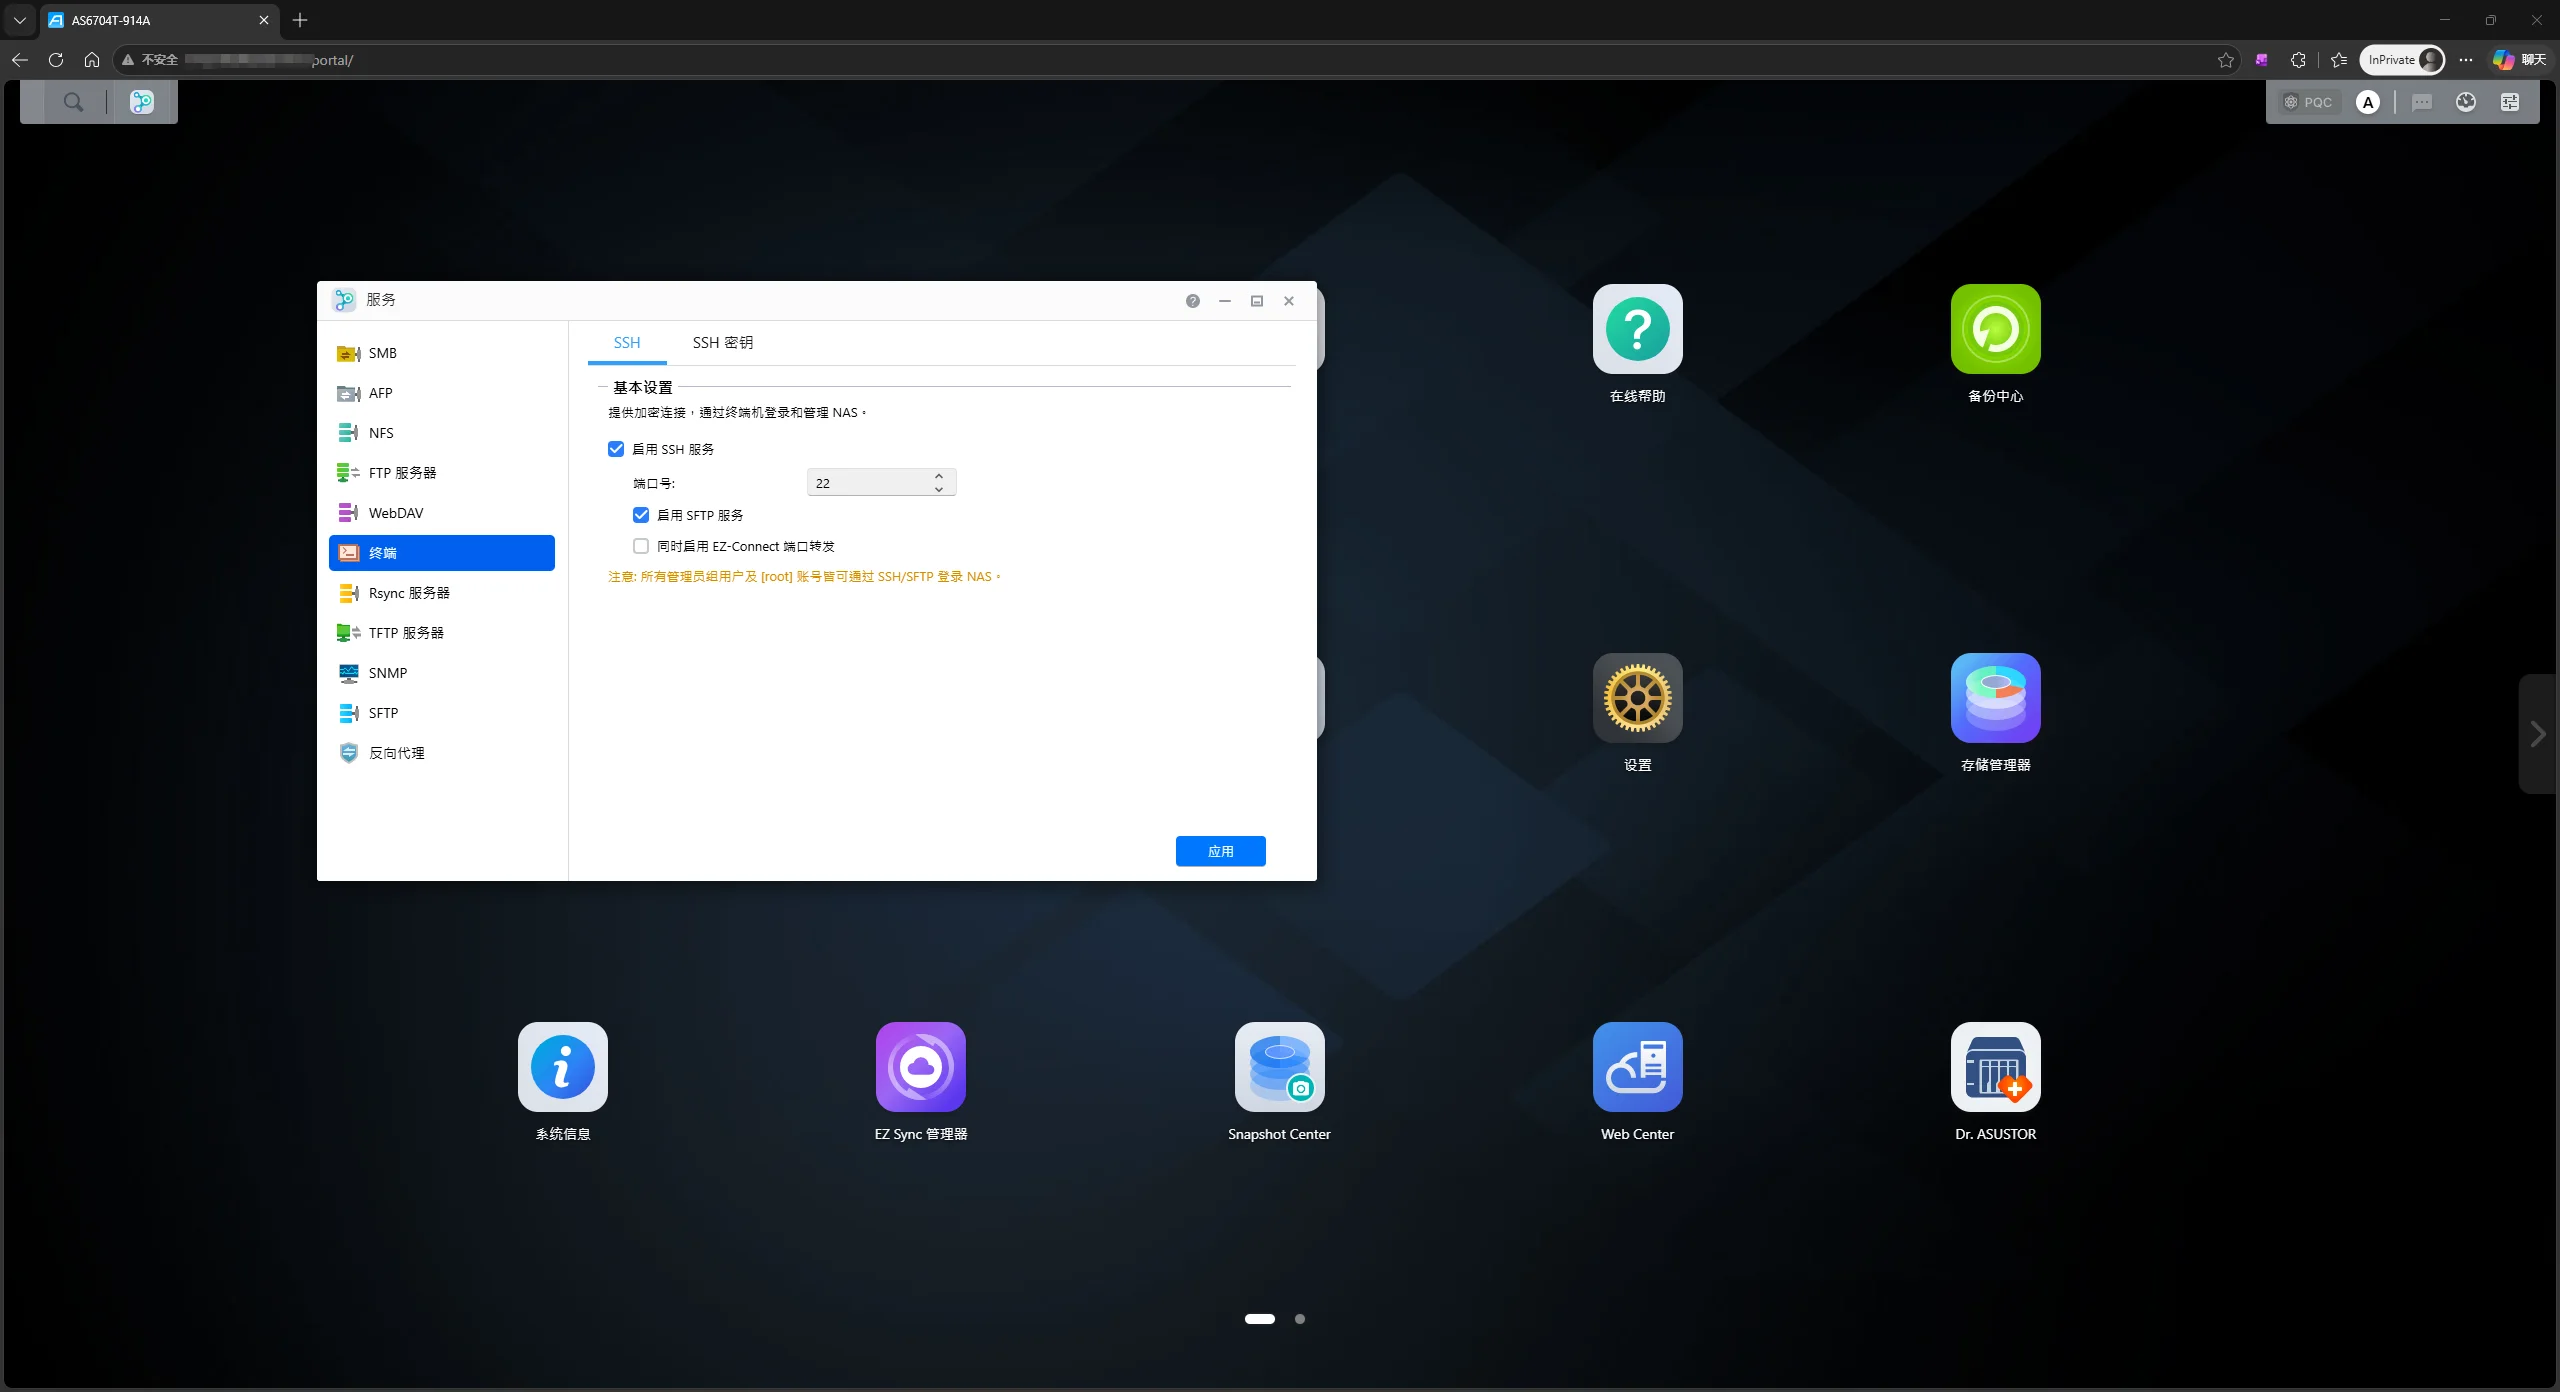
Do not expose the NAS SSH port to the public internet. Disable SSH after the initial setup if you no longer need it.
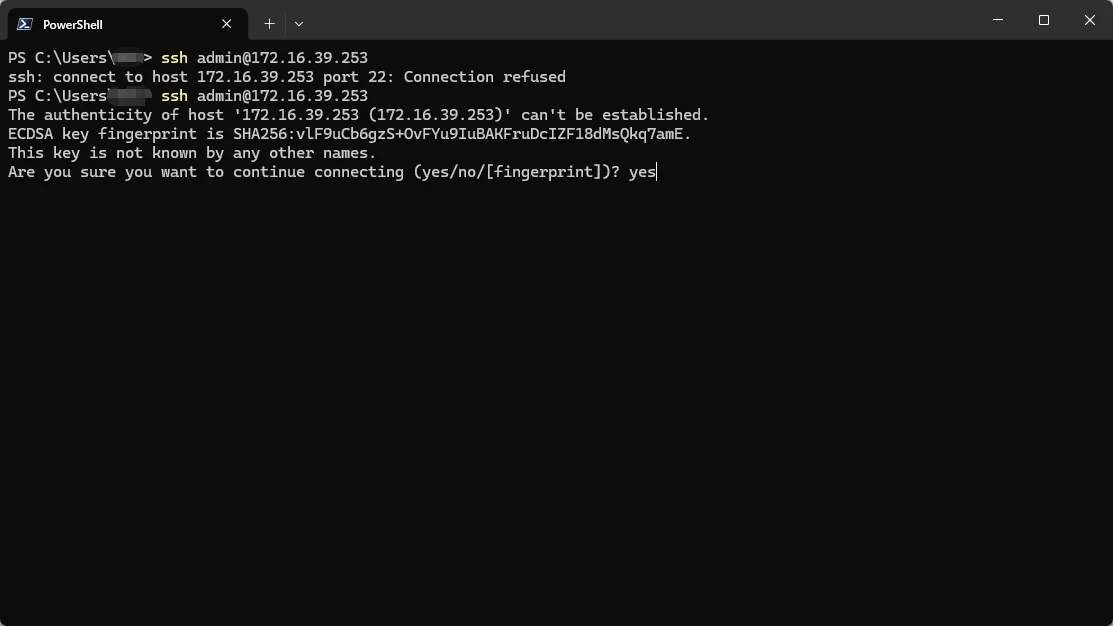
3. Log in to the NAS over SSH
From a computer on a trusted LAN, run:
ssh admin@<NAS LAN IP>
On the first connection, confirm the NAS host fingerprint after checking the IP address, then enter the NAS administrator password.
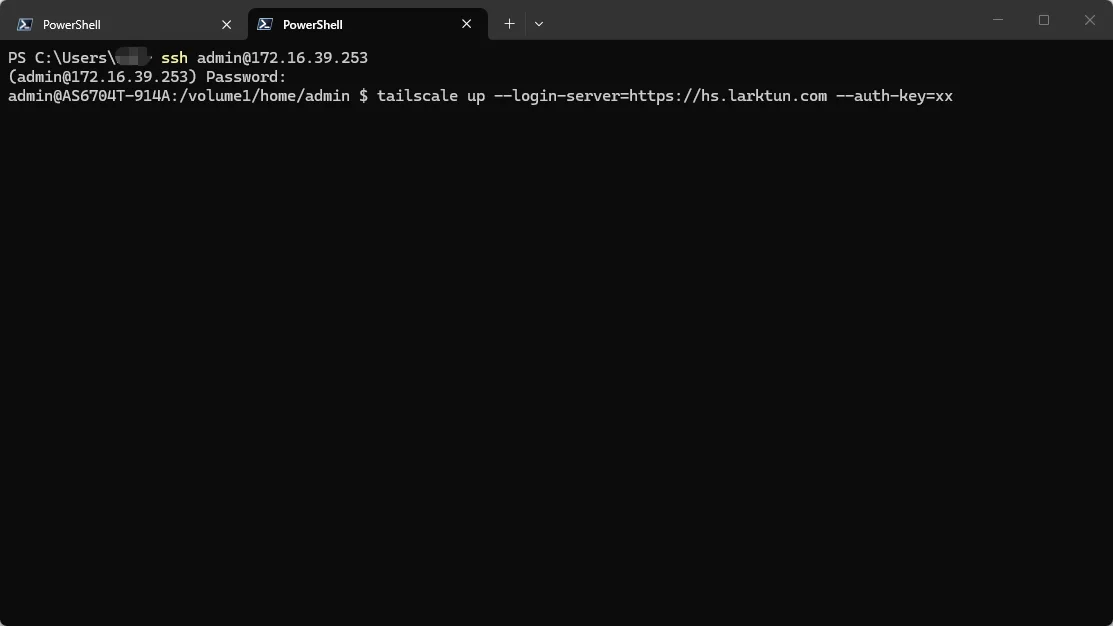
4. Point Tailscale to Larktun
Run the following command inside the NAS terminal:
tailscale up --login-server=https://hs.larktun.com --auth-key=<Your Auth Key>
Add sudo if the command reports insufficient permissions. This connects the Tailscale client to the Larktun control plane and uses Larktun service nodes optimized for networks in China to improve connection speed and stability.
For the full client compatibility guide, read Log in with Tailscale Client.
Verify remote access
After the NAS is online, start with a small validation scope:
- Find the NAS private address from another computer or phone connected to Larktun.
- Open the NAS admin UI or file service using the private address.
- Check the device status in the console.
- Configure ACLs for only the NAS admin UI, file service, or photo service ports you need.
Avoid permanently opening every NAS port to every device. Validate one least-privilege access path first, then add services as needed.
Troubleshooting
- Unsupported CPU architecture: the installer currently supports ARM64 and x86-64. For older ARMv7 devices, try the Tailscale package from the NAS app store.
- Missing administrator permissions: use an account with
root,sudo, ordoas, or install Tailscale through the NAS app store. - No SSH or terminal access: check whether the app store provides a graphical Tailscale installation path.
- No client can run on the NAS: use a router, server, or mini PC on the same LAN as a subnet router — for example a router running OpenWrt (see Install Larktun on OpenWrt Routers). Continue with Approve Subnet Routes.
- Tailscale command completes but the NAS stays offline: check whether the Auth Key has expired and confirm the full
--login-server=https://hs.larktun.comvalue.