Larktun Quick Start
This page walks through your first full setup in the Larktun console: device onboarding, route approval, user visibility, access policy, relay configuration, and profile verification.
All screenshots below are in
webpformat to reduce bandwidth and speed up page loading.
Prerequisites
- An active Larktun account
- At least one device to onboard (desktop, server, or gateway)
- A created tenant (or workspace)
- If using user-managed relay, one publicly reachable host
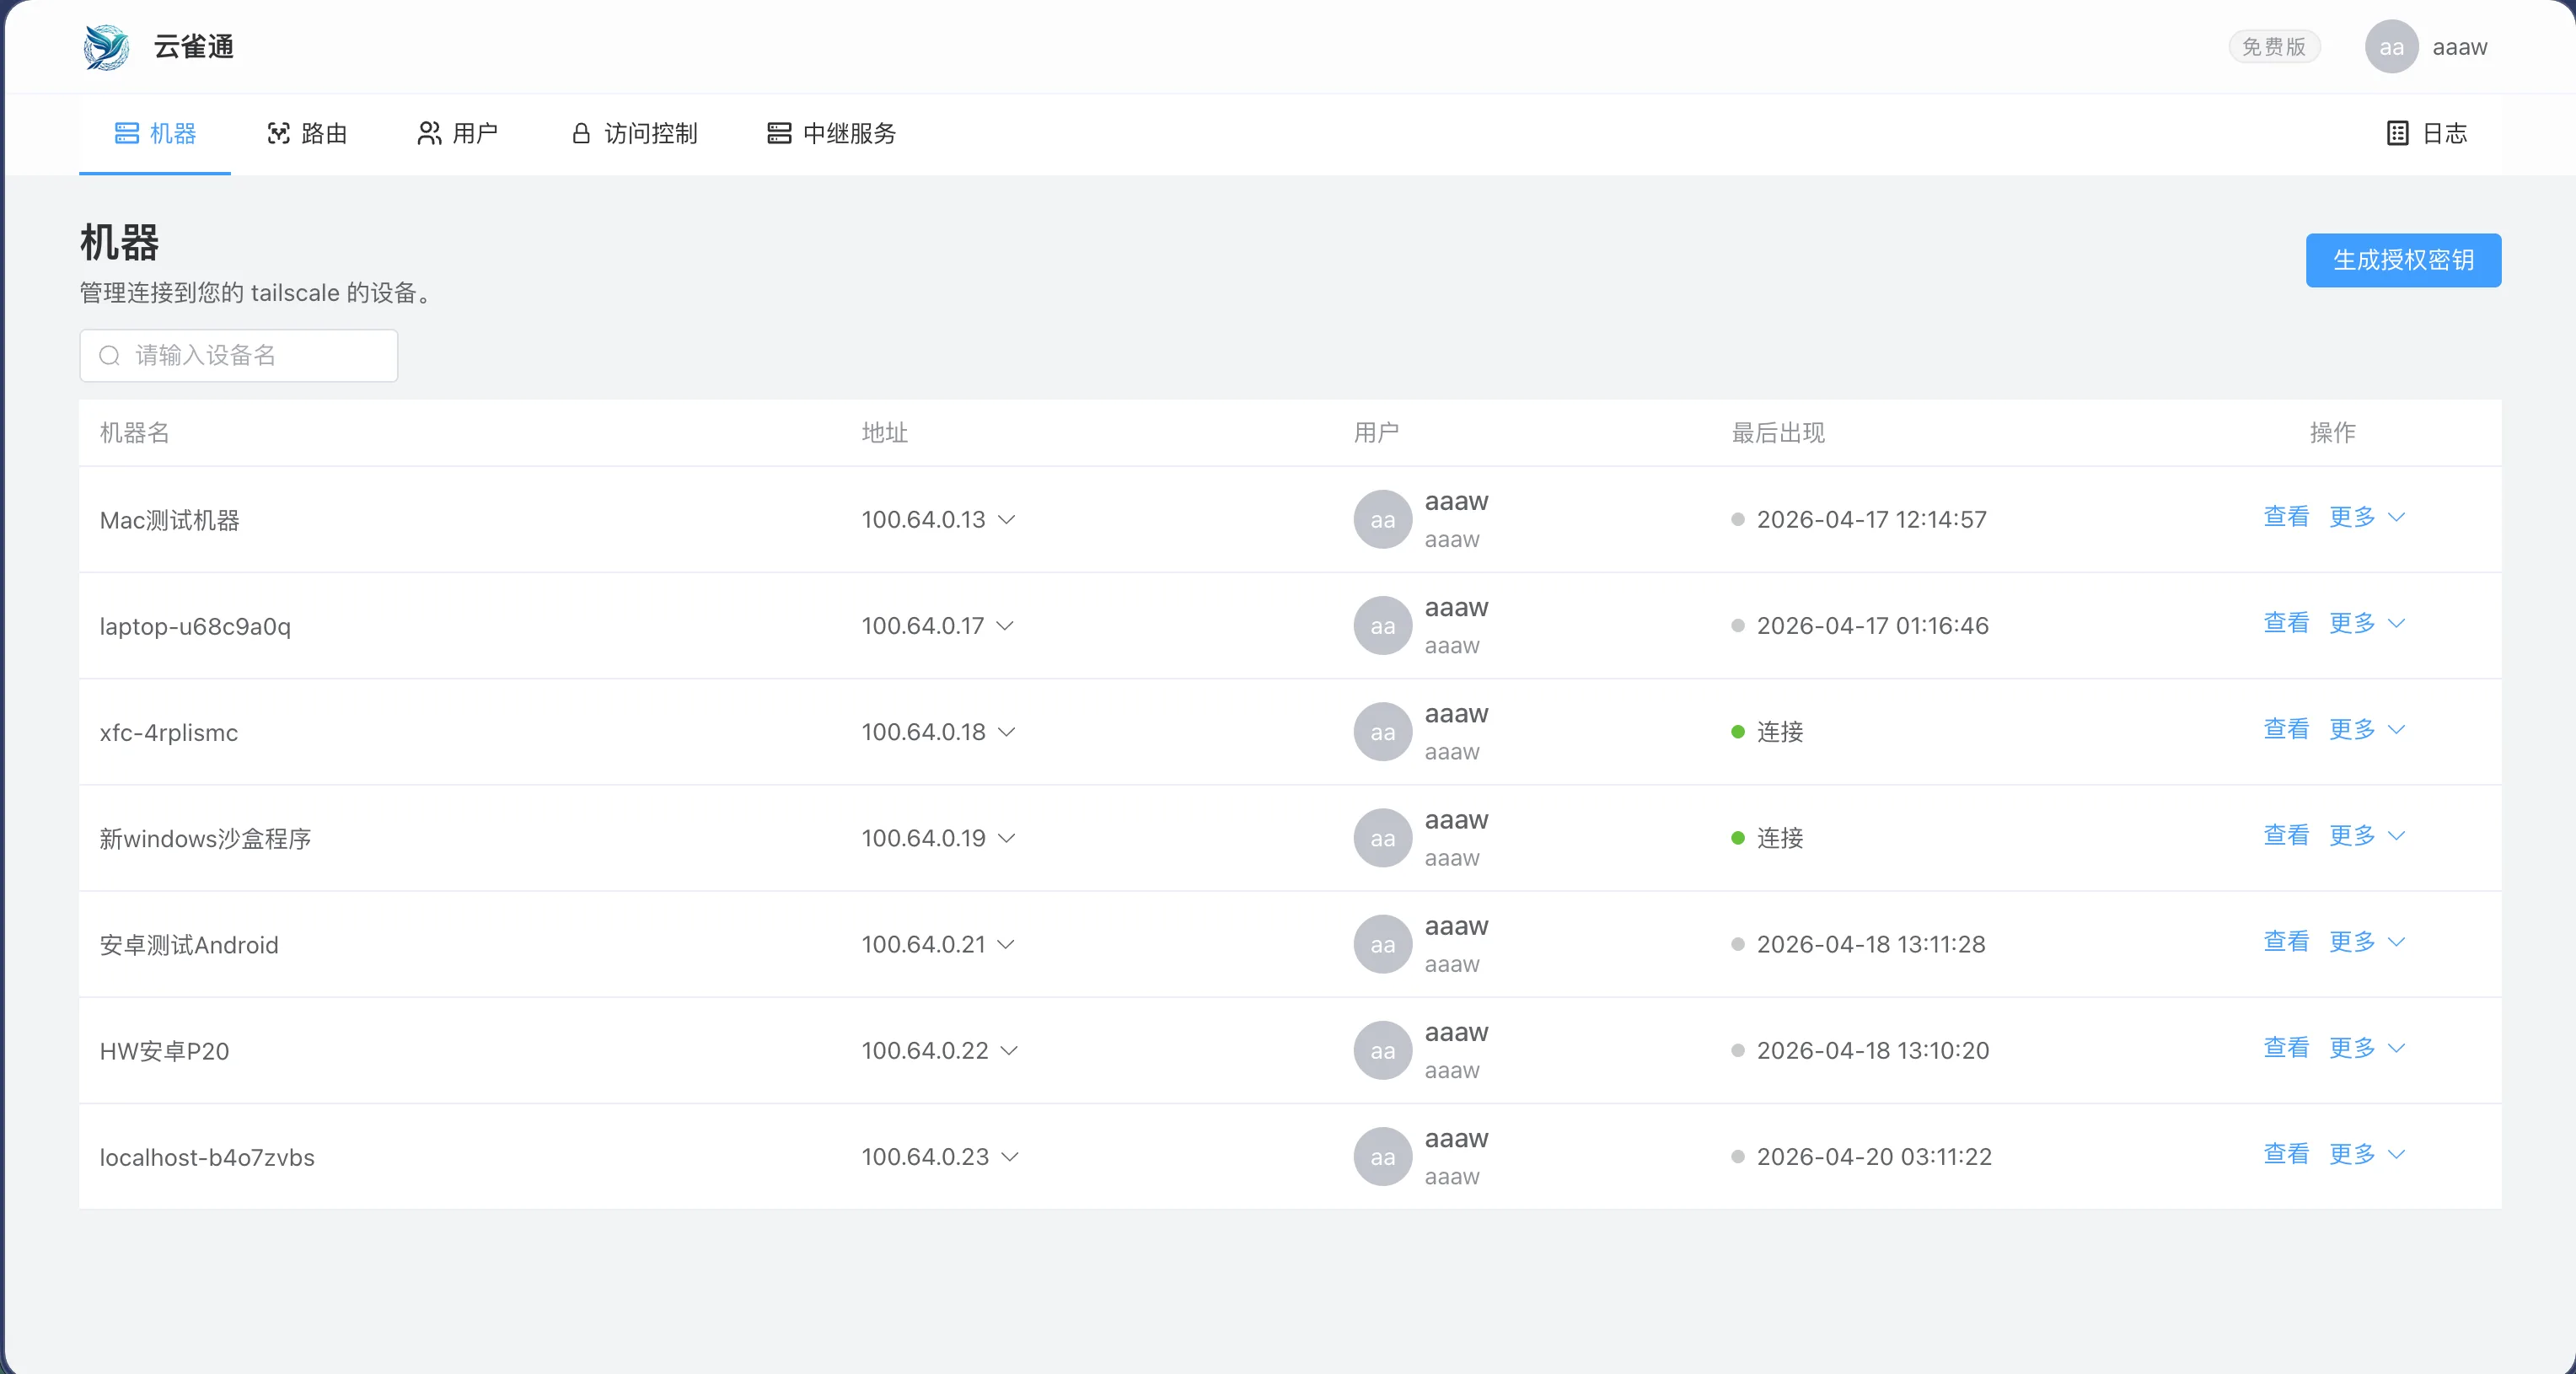
1. Nodes: Manage devices
The nodes page shows devices under the current user. Free users can manage up to 5 free devices by default.
You can:
- View device status and details
- Remove unused devices
- Rename device display names
Initial names are usually based on HOSTNAME, which is hard to remember. Rename them to meaningful names like dev-macbook or prod-gateway.
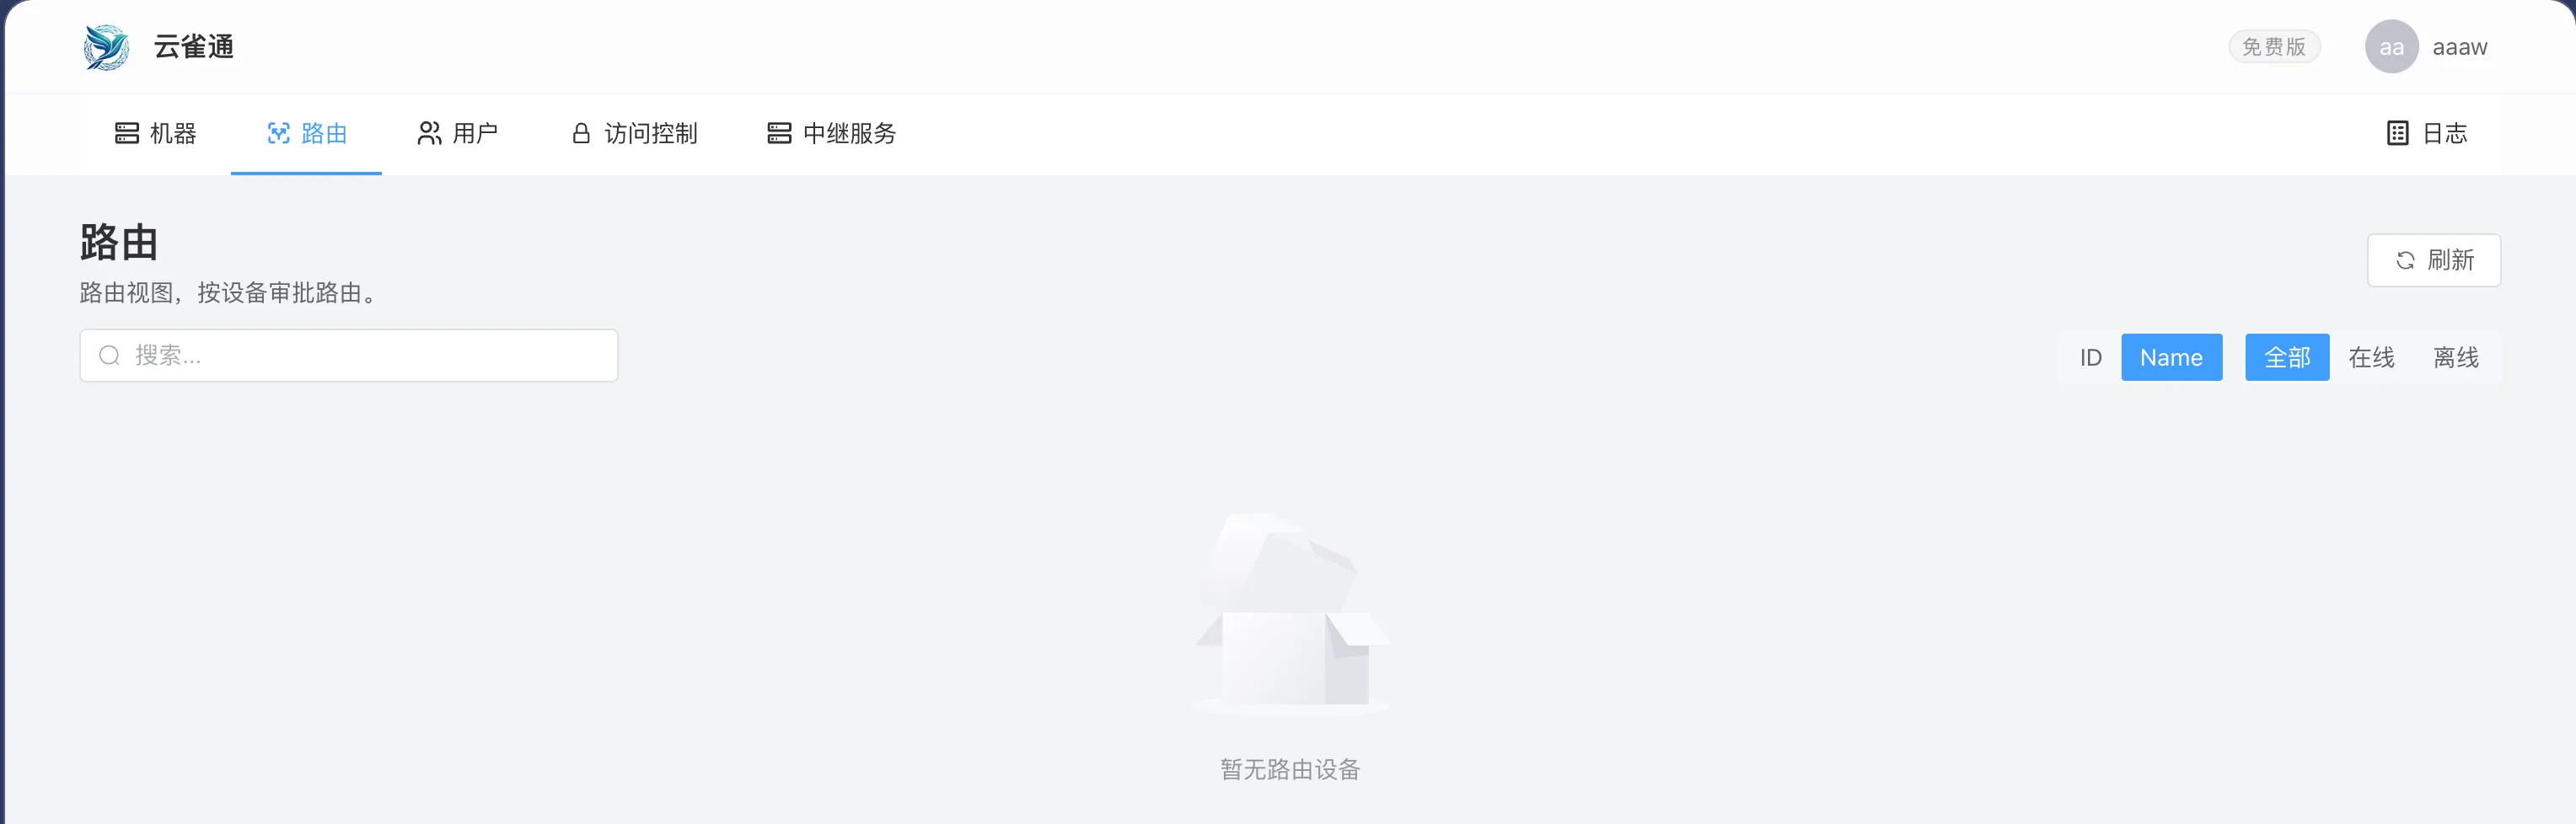
2. Routers: Approve subnet routes
Use the routers page to approve subnet routes. If a node should advertise a subnet, approve it here.
Recommended practice:
- Approve only the subnets that are explicitly required
- Validate connectivity right after route changes
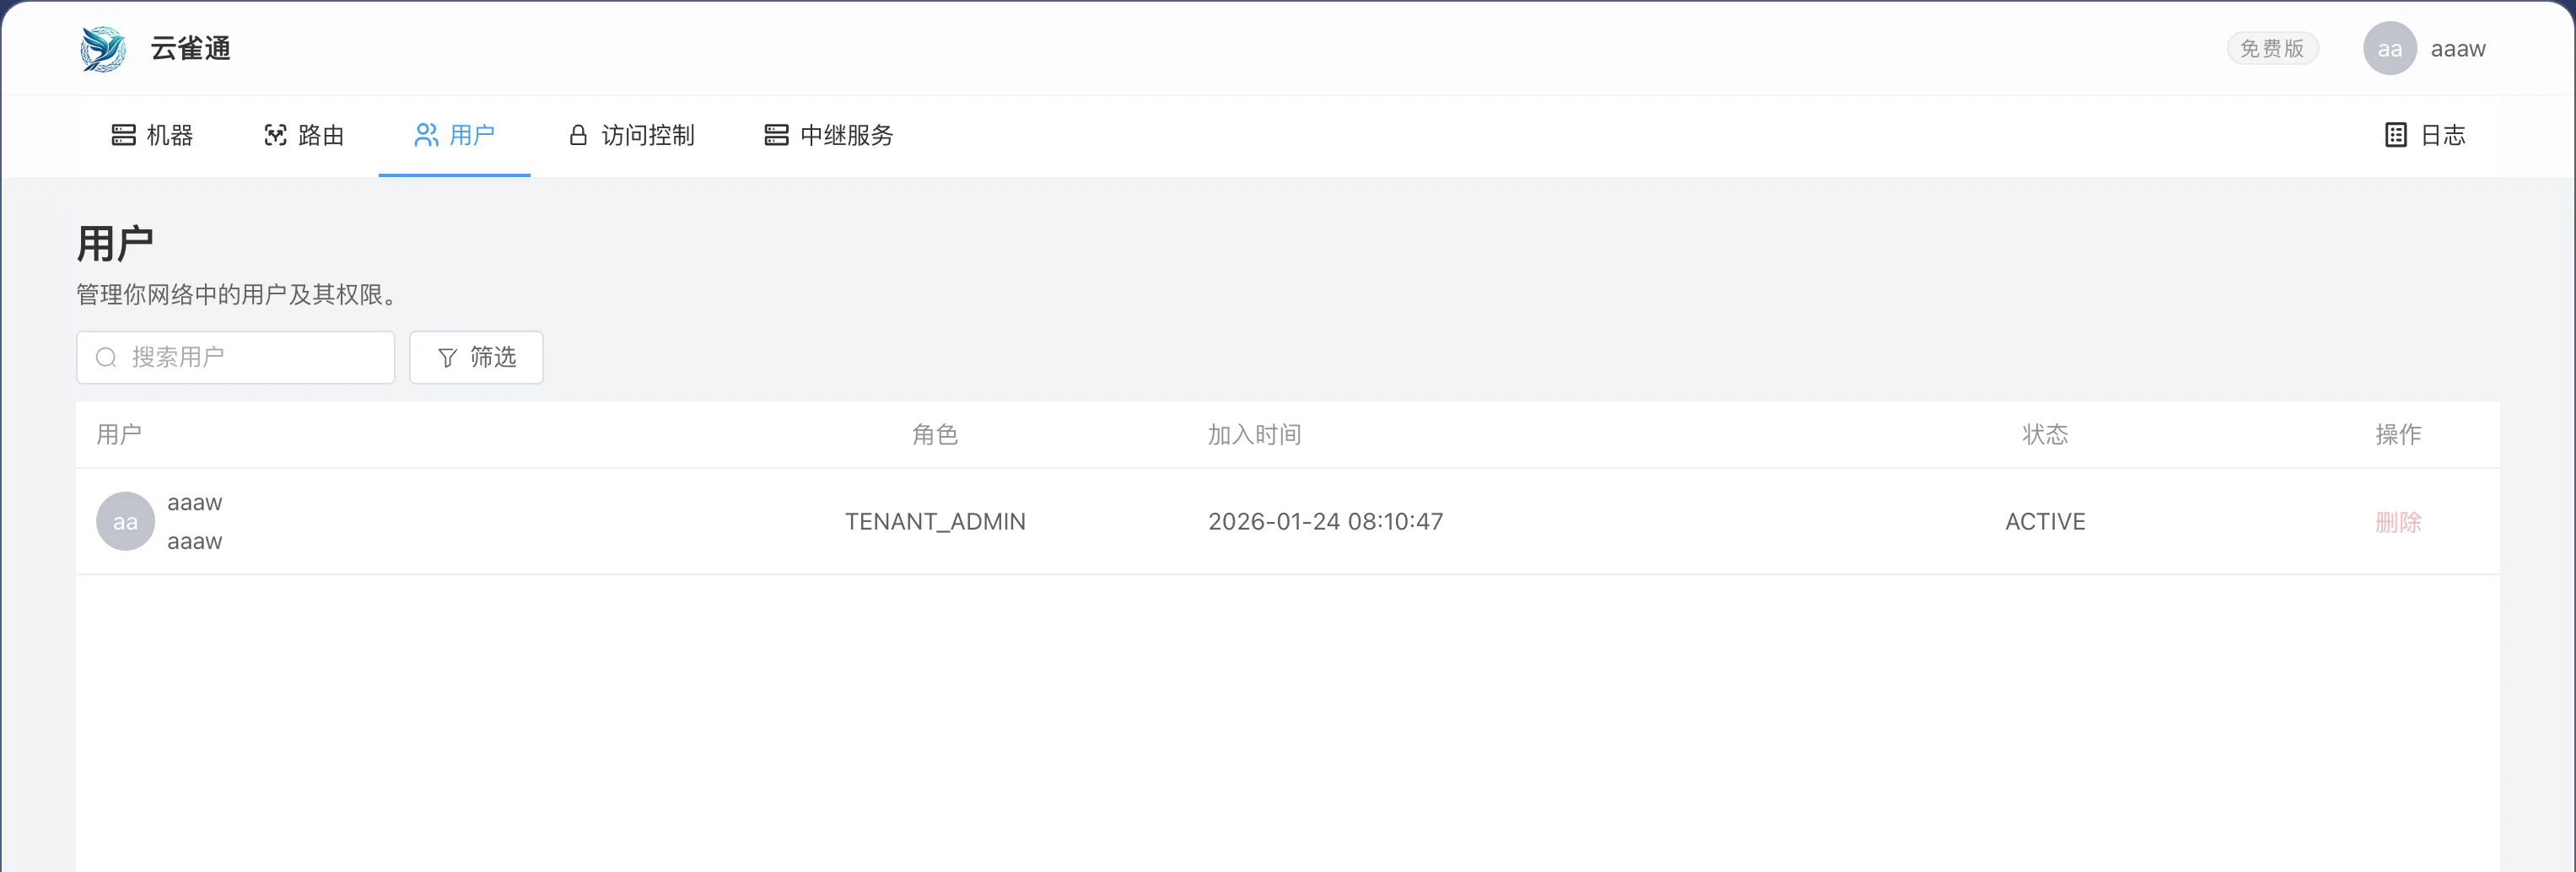
3. Users: Tenant member visibility
The users page lists all users in the tenant so you can verify membership and ownership clearly.
Recommended practice:
- Review stale accounts regularly
- Update users promptly when team membership changes
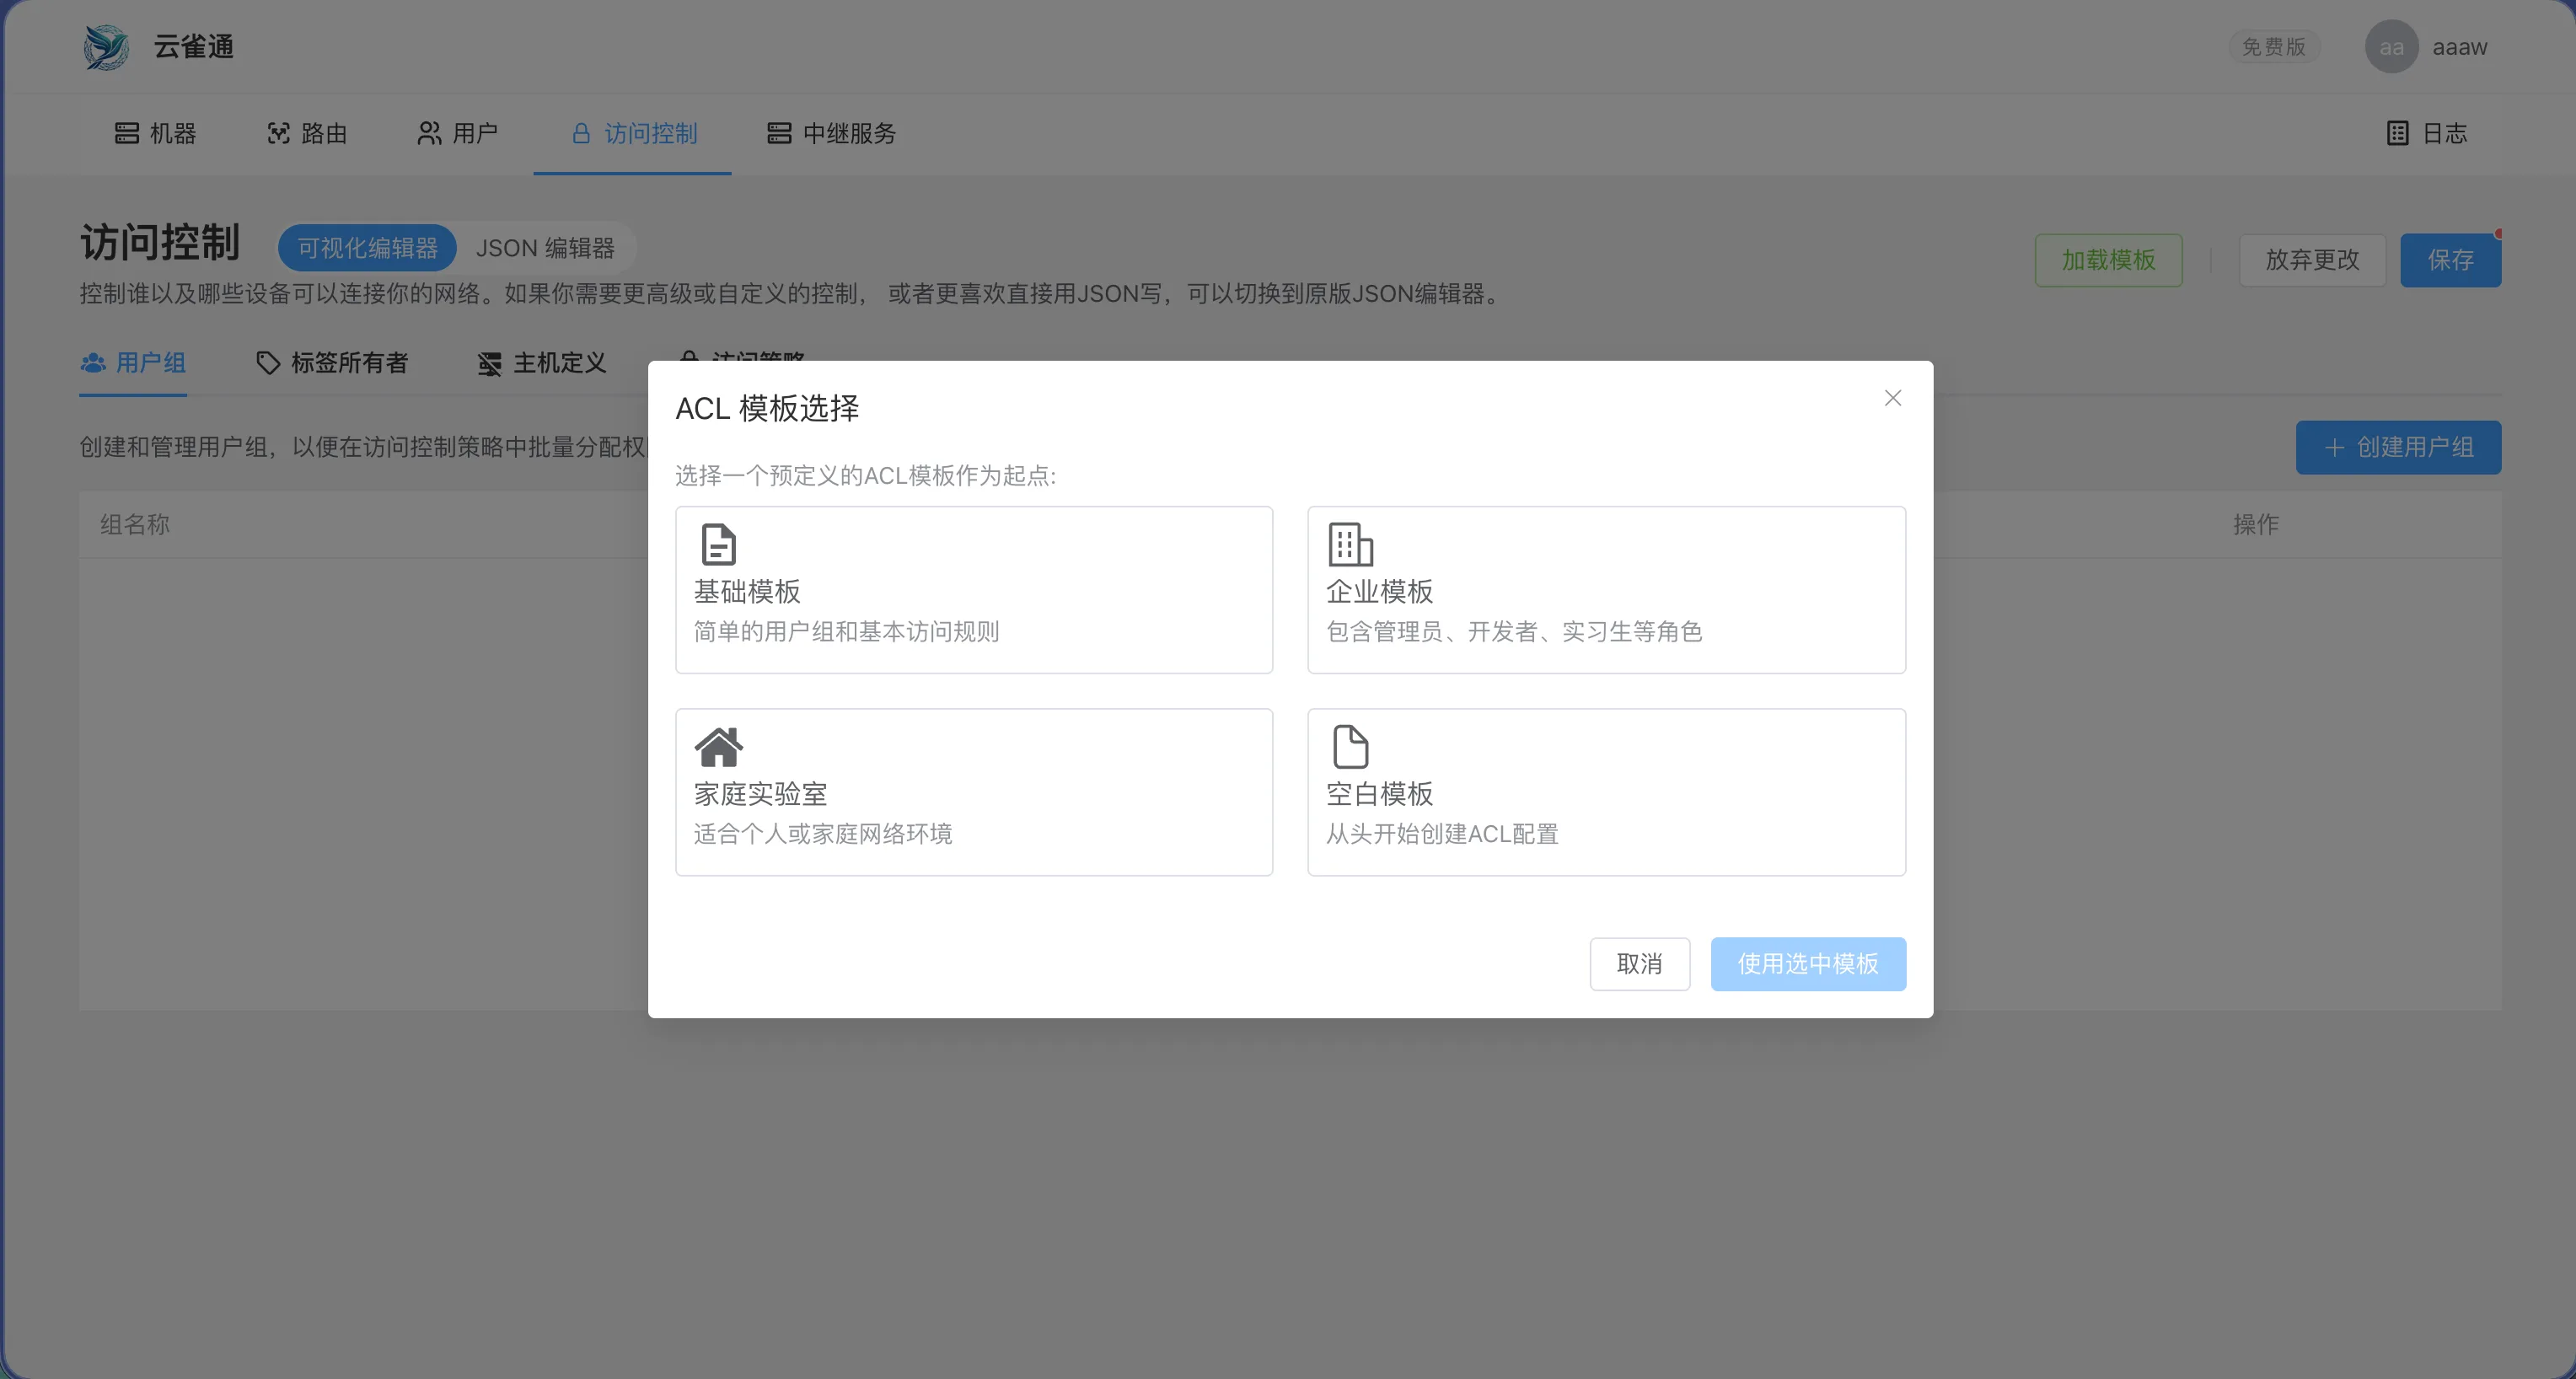
4. ACLs: Access control policy
The acls page controls which devices can access which targets.
Built-in capabilities:
- Several ACL templates for fast setup
- Visual editor for daily operations
- JSON editor for advanced users
Start from a least-privilege template, then open access incrementally for real workloads.
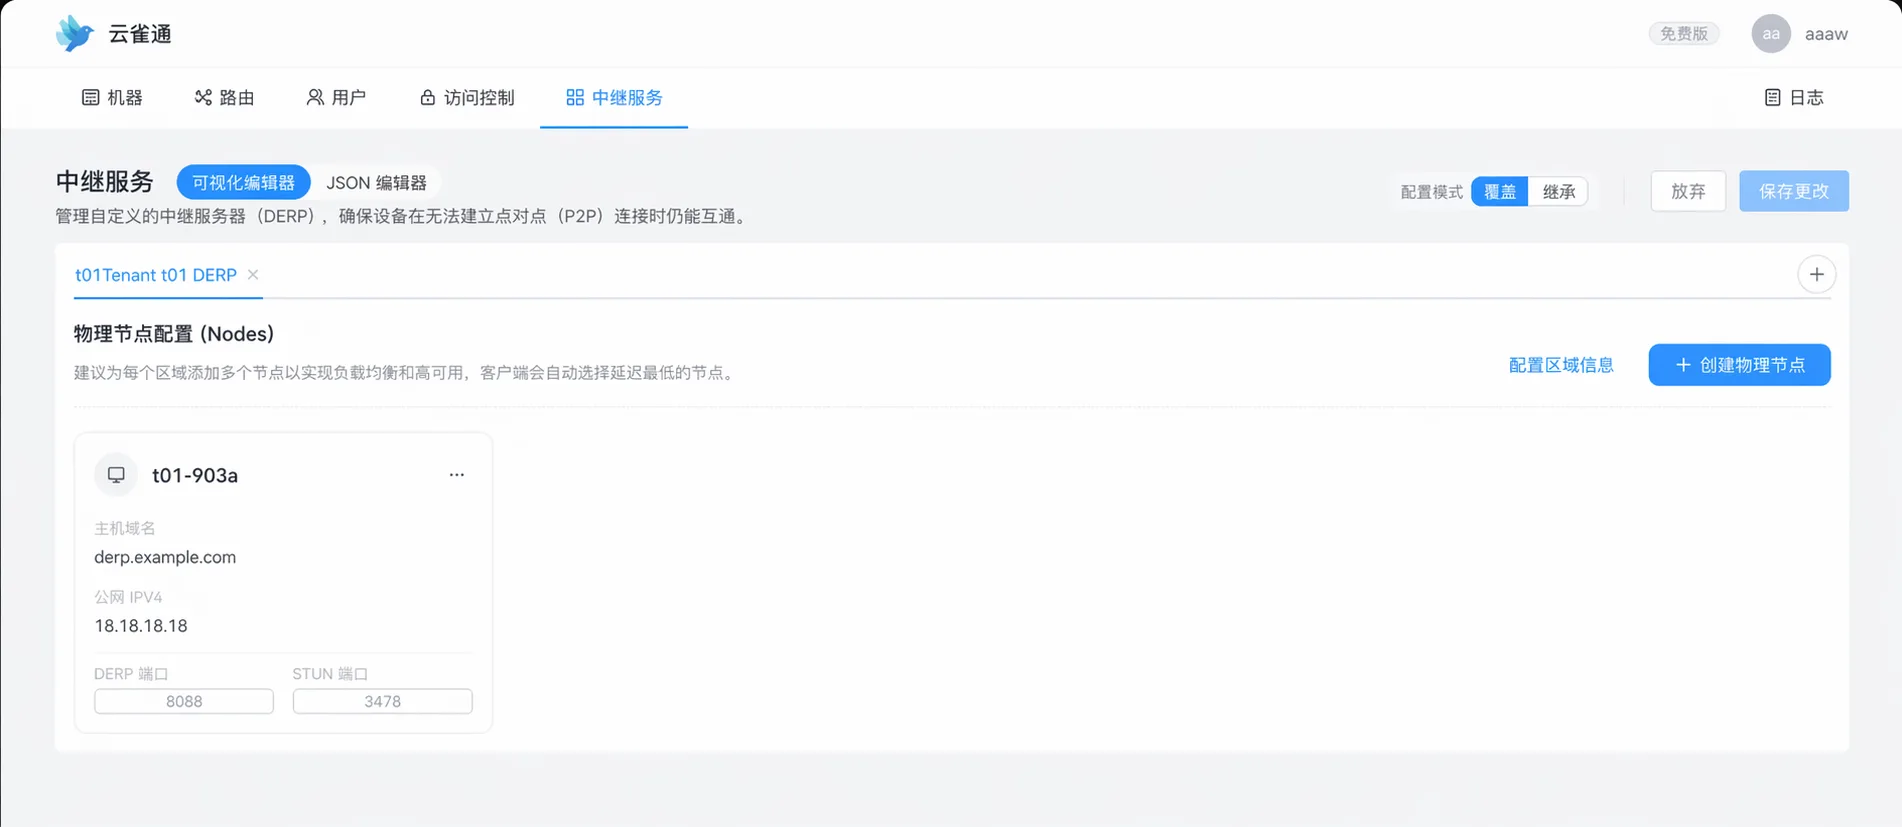
5. Derper: Relay server configuration
Use the derper page to manage relay servers:
- Use platform default relays
- Bring your own relay servers
- Paid users can access VIP dedicated relay servers
- Both visual configuration and JSON editing are available
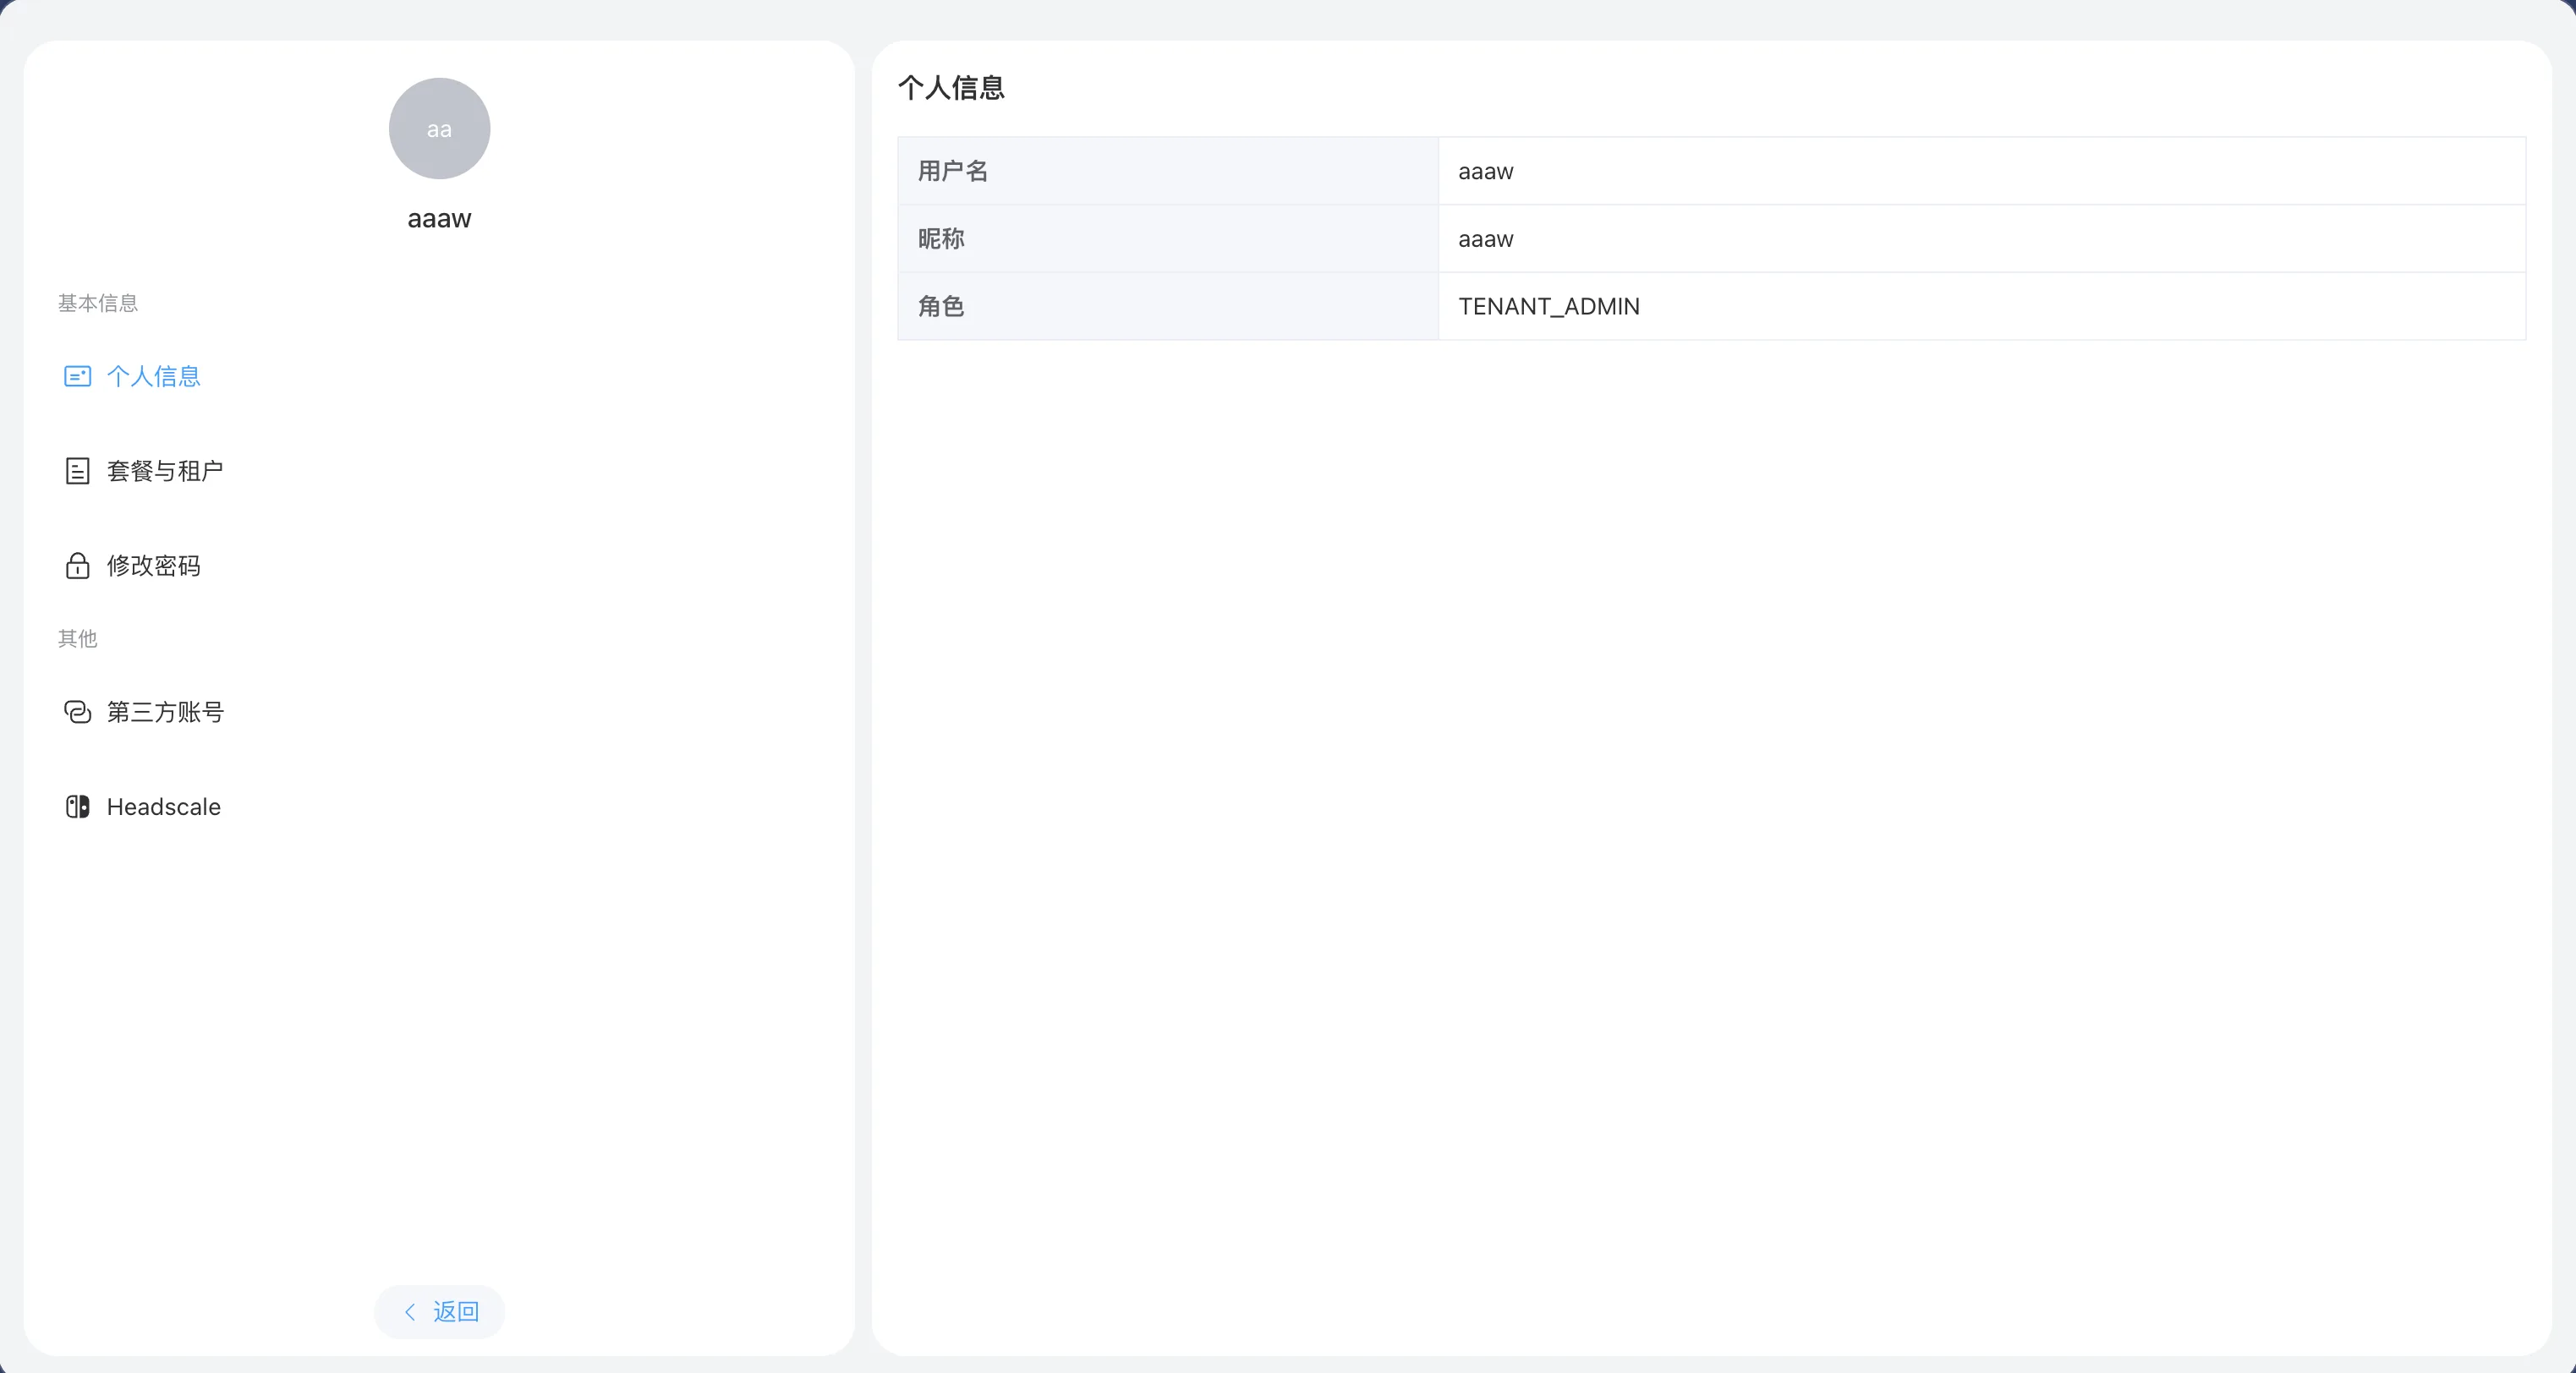
6. Me: Personal center
The me page shows your personal profile and account details for identity confirmation.
Next steps
- Pick two nodes and validate one least-privilege ACL path immediately.
- If cross-region latency is high, switch relay region or connect your own relay in
derper. - If anything looks off, go to Troubleshooting.